Good days start with one good idea.Make something. Play something. ↗
fun things
to do.
Find my fun ↗

CHRISTMAS · MAKE SOMETHING WORTH REMEMBERING

Paper-loop Christmas tree

Build a soft-looking tabletop tree from rows of green paper loops and a sturdy cardstock cone.

40 min hands-on1–4 makersAges 6+ with adult helpEasy4 illustrated steps ↓

About 40 minutes of making time; allow a few extra minutes for glue to set before moving.
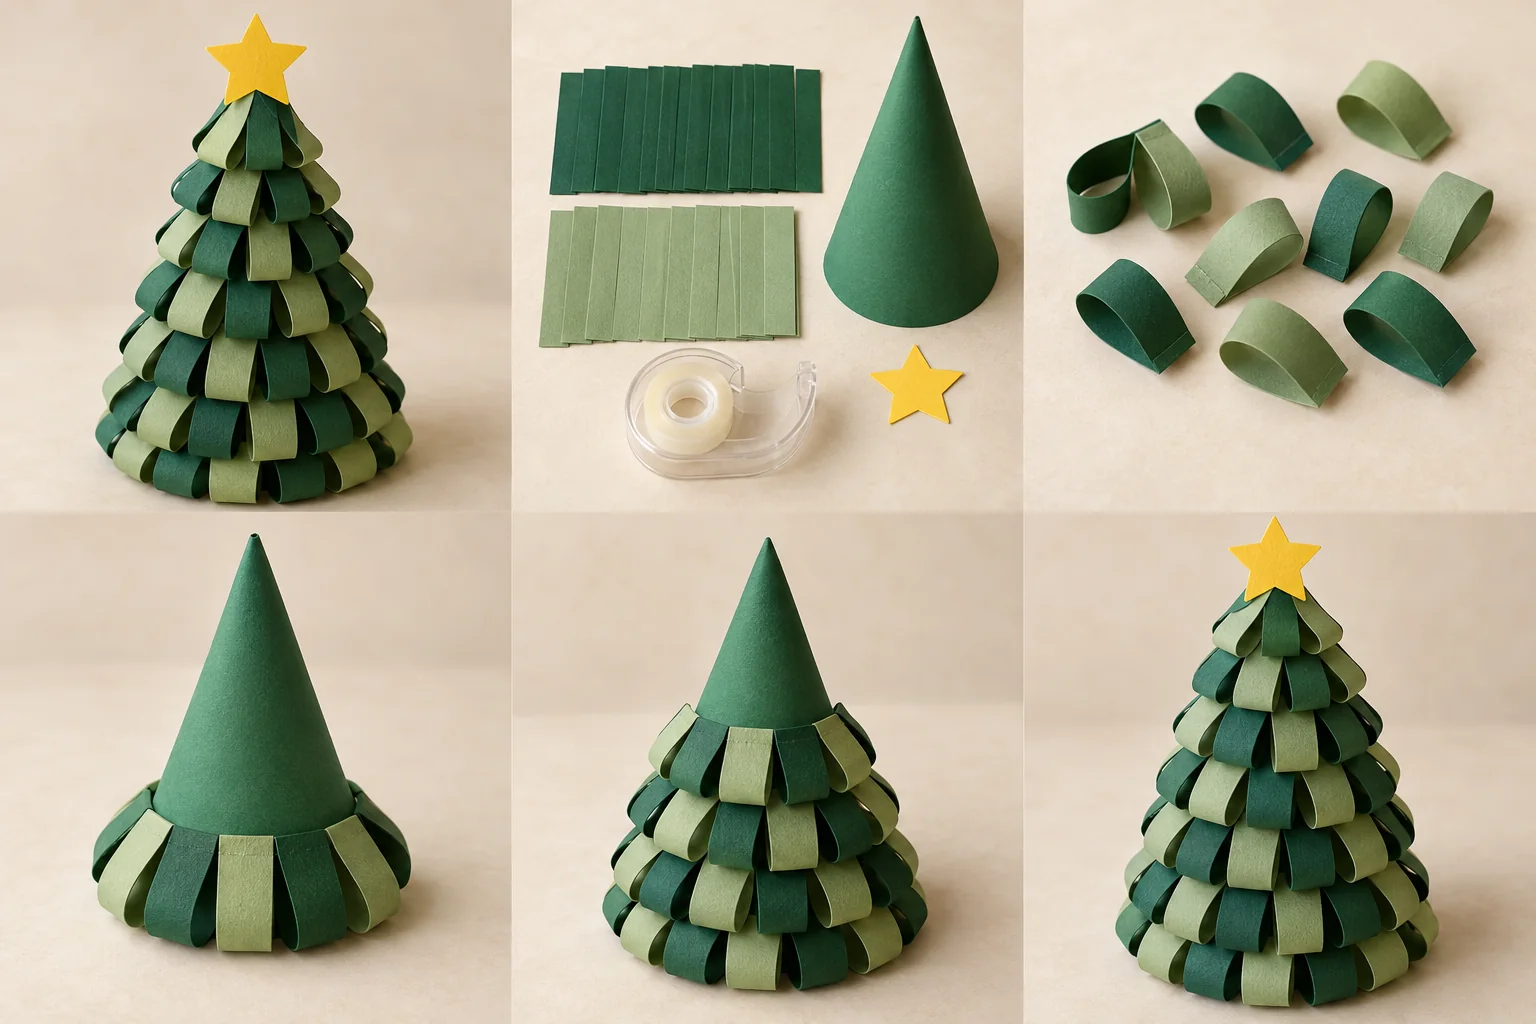
A tabletop cone covered with alternating dark- and light-green paper loops and topped with a yellow star.
One way your finished project could look.

A LITTLE INSPIRATION

See it. Make it.
Make it yours.

Start with this finished example, then follow the four illustrated steps below. Choose the colors and details that feel like you.

Project and step images are AI-generated illustrations. About our images

Let’s make it.

  1. Green paper strips with their short ends joined into rounded teardrop loops.

    Step 1

    Roll the green cardstock into a cone about 20 cm tall and tape the overlapping edge. An adult trims the bottom until it stands level. Cut about 30 green paper strips, each roughly 2 × 8 cm, then glue each strip's short ends together into a rounded teardrop loop without creasing the curve.

  2. The first row of paper loops is secured around the bottom of a plain cardstock cone.

    Step 2

    Start at the base of the cone. Tape the flat joined ends of one row of loops around it, with the curves pointing down. Keep the bottoms of the loops just above the tabletop so the cone remains steady.

  3. Rows of green loops overlap from the base upward on the cardstock cone.

    Step 3

    Continue adding overlapping rows upward, covering the attachment points of the row below. Use fewer loops in each higher row and alternate the two greens if you like.

  4. A large yellow cardstock star is attached to the top of the finished paper-loop tree.

    Step 4

    Cut one large yellow paper star and tape it to the cone tip. Gently adjust the loops so the tree stands evenly, then display it on a stable shelf away from heat.

A little help: This is a paper decoration, not a lampshade. Keep it away from bulbs, candles and heaters.

KEEP THE GOOD TIME GOING

What shall we try next?

MAKE IT · Santa’s workshop

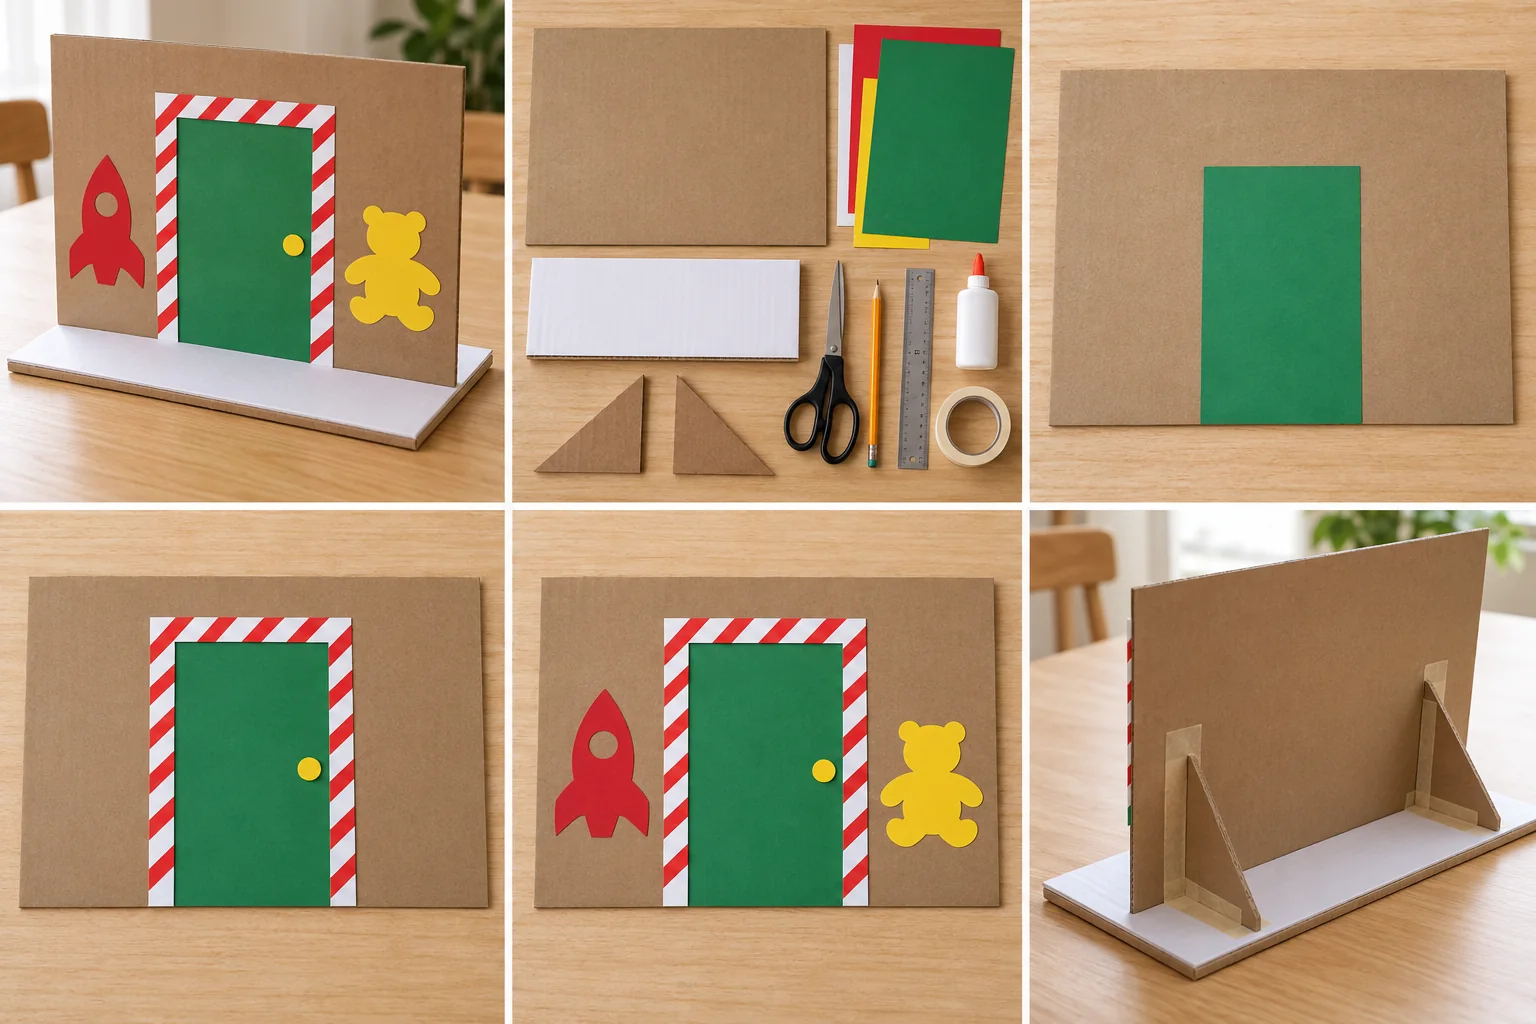
Santa’s Workshop Cardboard Door

Build a tabletop elf-workshop entrance with a green paper door, a candy-striped frame, and cheerful paper toy shapes beside it.

55 min hands-on · 1–3 makers
Ages 8+ with adult cutting

Supplies & steps ↗

More Christmas crafts, recipes & ideas ↗