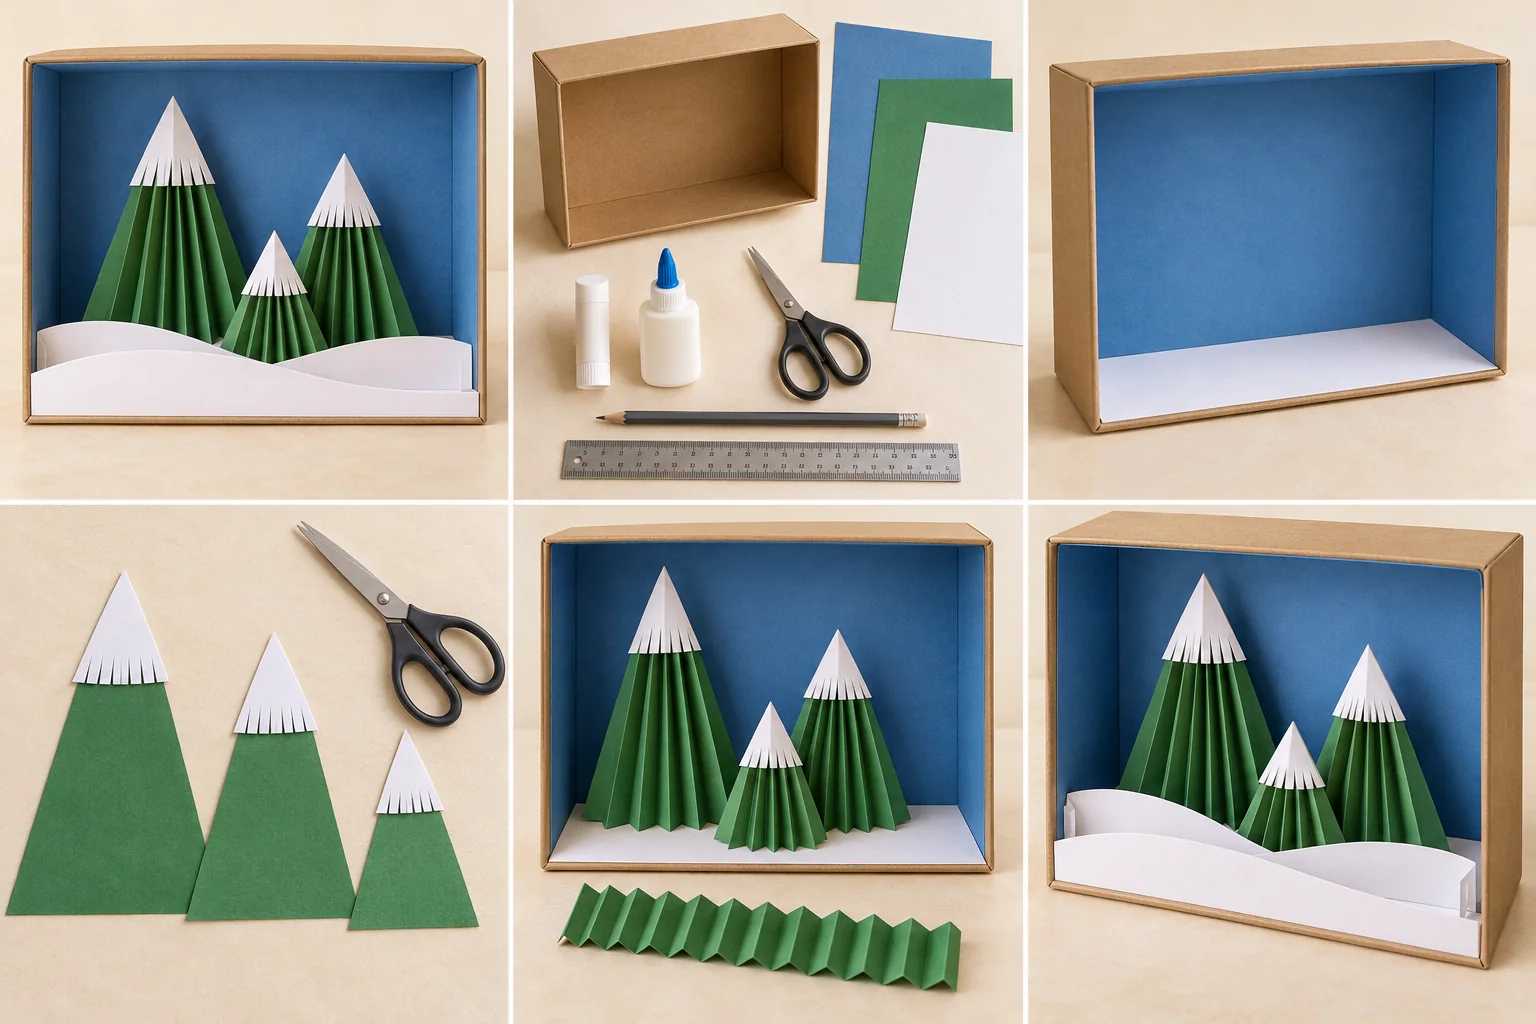
MAKE IT · Winter wonderland
Winter Wonderland Shoebox Forest
Turn a shoebox into a snowy miniature forest with folded paper fir trees, fringed snow caps, and layered paper drifts.
Supplies & steps ↗CHRISTMAS · MAKE SOMETHING WORTH REMEMBERING
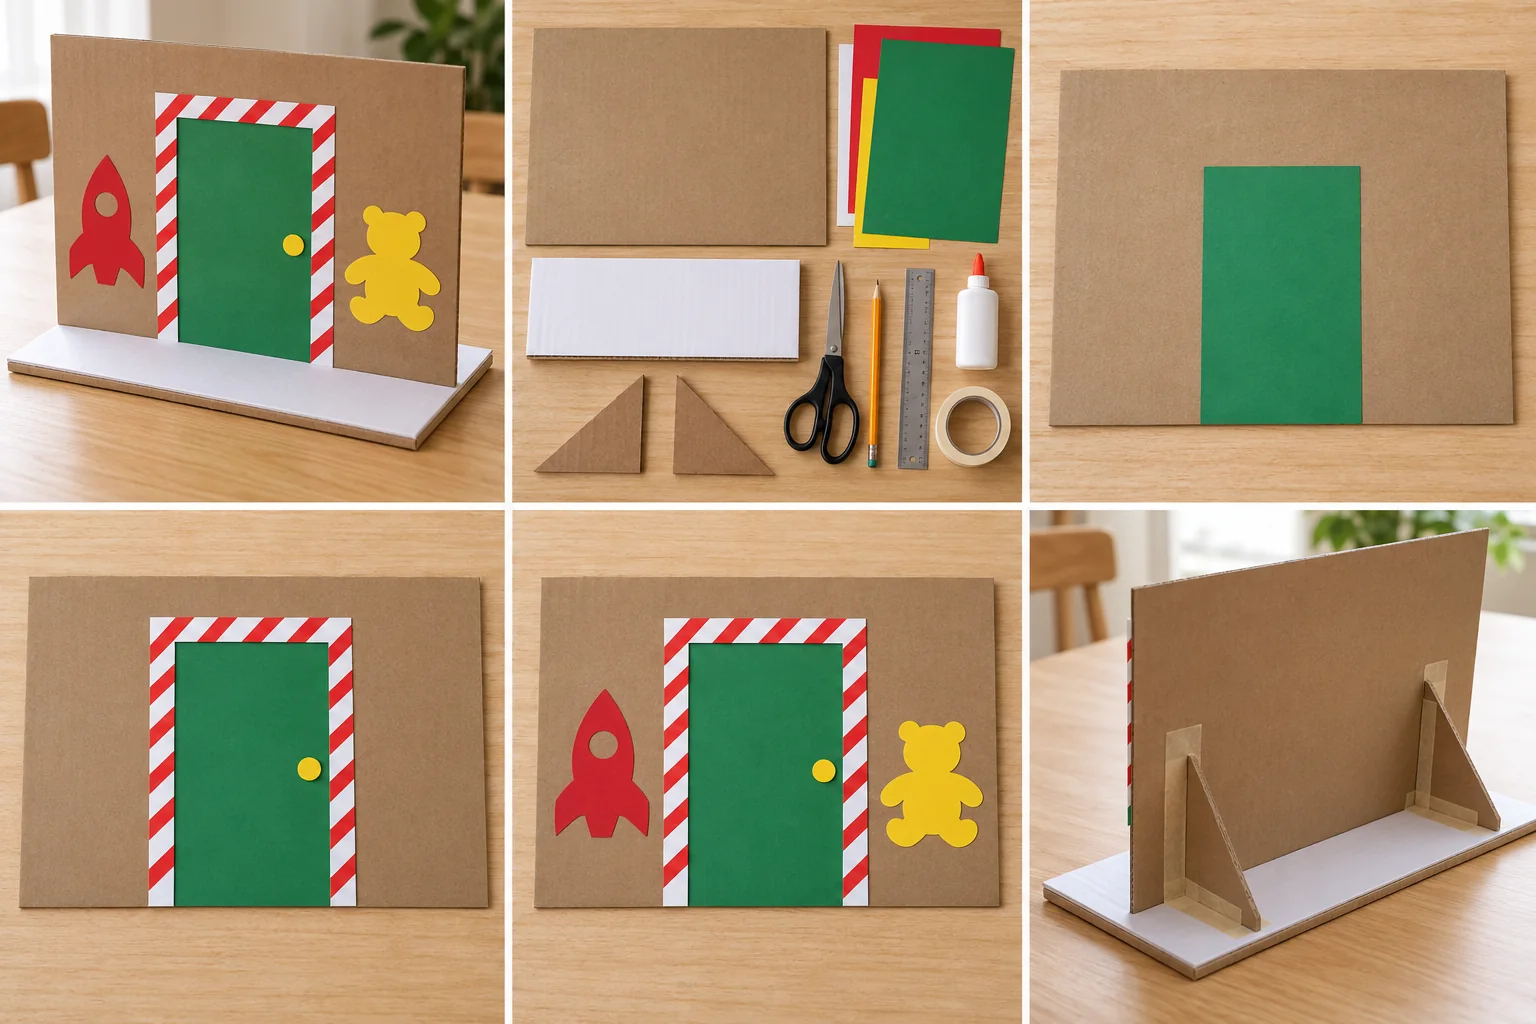
Build a tabletop elf-workshop entrance with a green paper door, a candy-striped frame, and cheerful paper toy shapes beside it.
Allow about 55 minutes of hands-on time plus drying time according to the glue label. Adults cut the thick cardboard and help with the support braces. The door is a tabletop decoration, not a working door or a climbing toy.
A LITTLE INSPIRATION
Start with this finished example, then follow the four illustrated steps below. Choose the colors and details that feel like you.
Project and step images are AI-generated illustrations. About our images
Cut two white paper strips about 2 × 23 cm for the sides and one about 18 × 2 cm for the top. Glue them around the green door as a frame. Cut short red paper strips, glue them diagonally across the white frame, and trim the excess so the red stays inside the white border. Add a yellow paper circle as the door handle.
Cover the rectangular base with white paper. Stand the decorated panel across the base, about 3 cm behind its front edge. An adult helps tape each triangular brace upright behind the panel: its 12 cm edge touches the panel and its 8 cm edge rests on the base. Tape both edges securely, add craft glue along the joints, and leave the display supported until the glue dries. Check that it stands steadily before placing it on a shelf.
A little help: Place the two braces apart near the left and right sides of the panel, with their wide feet pointing backward. Both must sit flat on the base.
KEEP THE GOOD TIME GOING
Turn a shoebox into a snowy miniature forest with folded paper fir trees, fringed snow caps, and layered paper drifts.
Supplies & steps ↗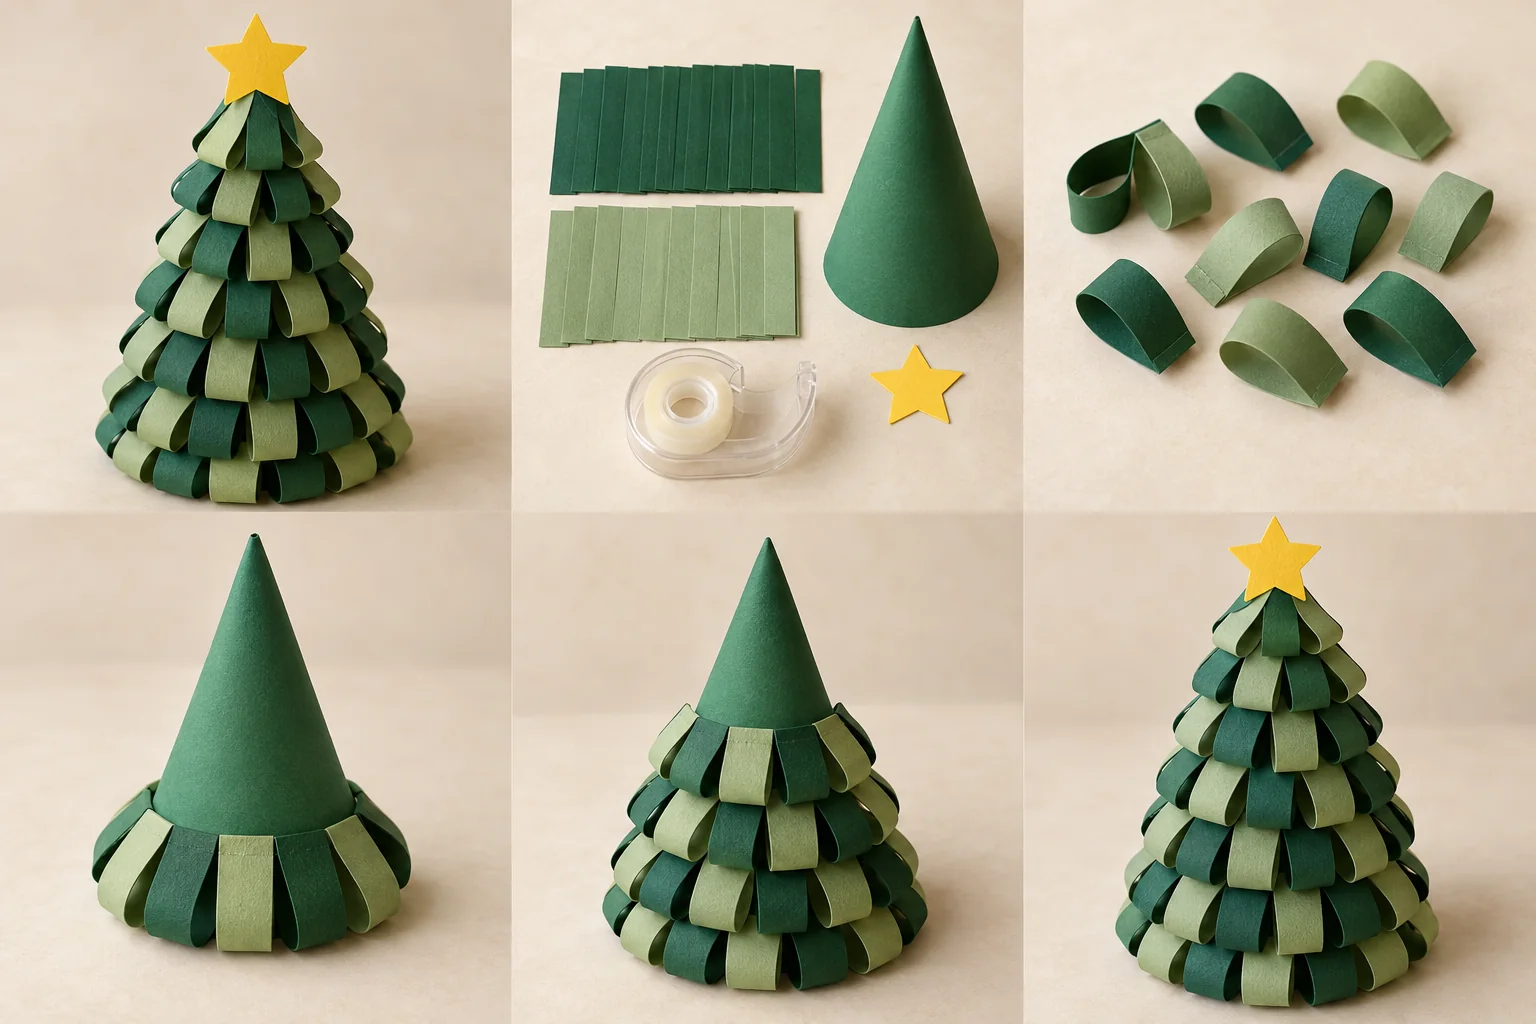
Build a soft-looking tabletop tree from rows of green paper loops and a sturdy cardstock cone.
Supplies & steps ↗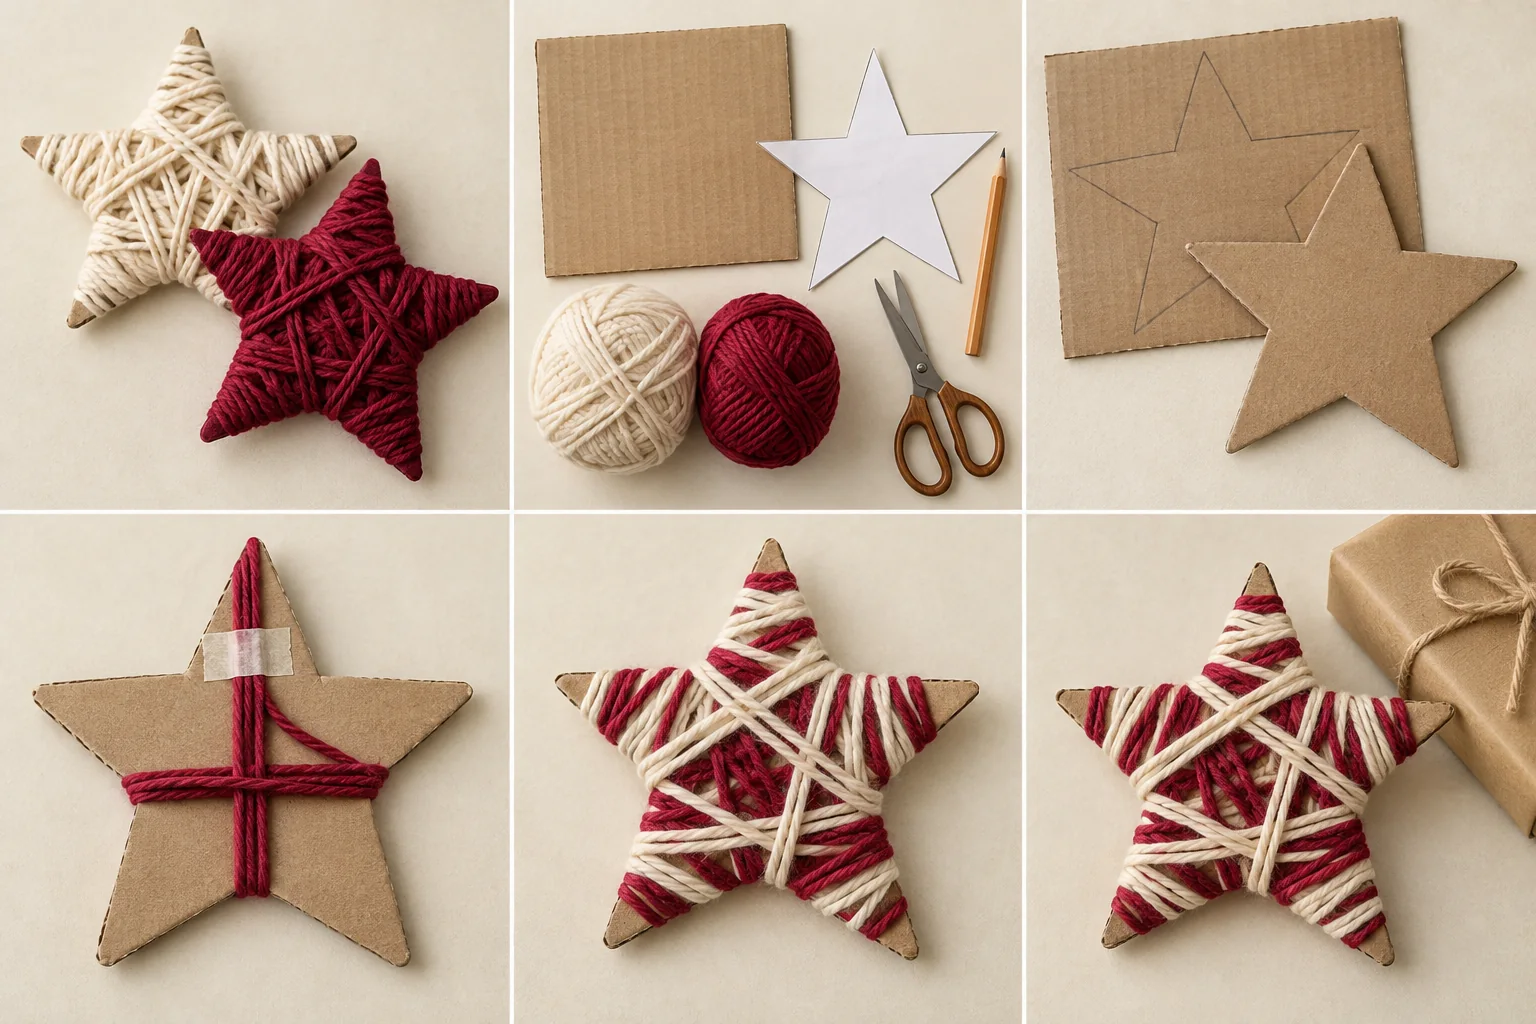
Wrap chunky stars in soft yarn to make a colorful shelf display or large paper gift toppers.
Supplies & steps ↗