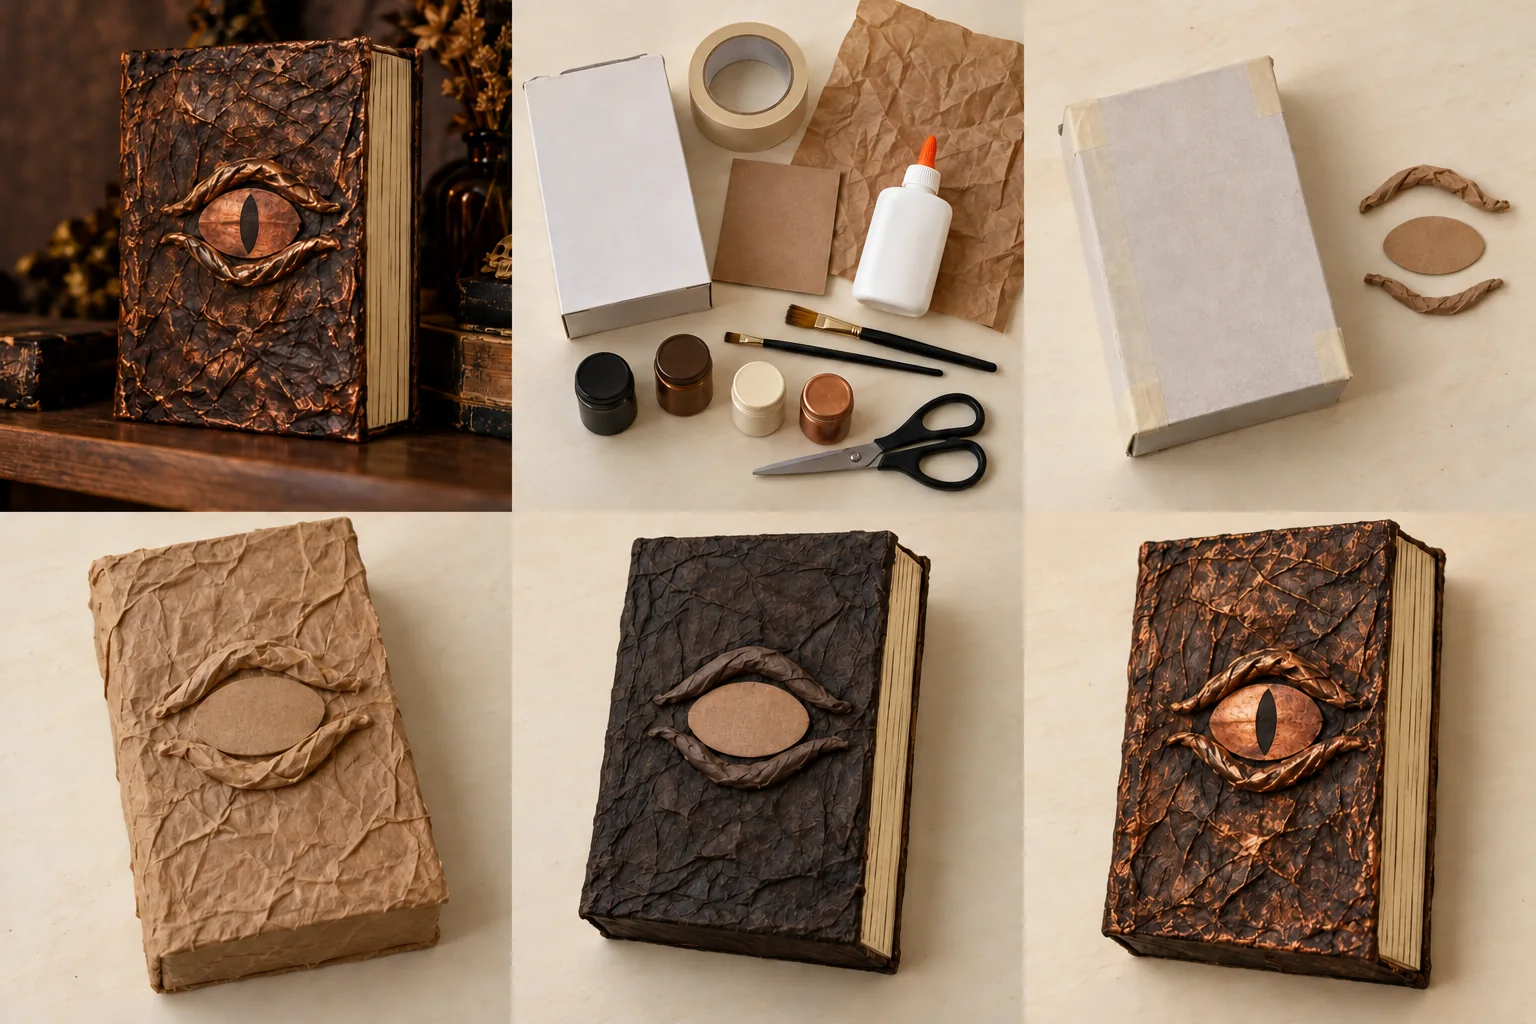
Close and tape the empty cereal box securely to make a lightweight book-shaped prop. Decide which narrow side will be the spine and which will be the page edge. Cut a small cardboard oval for the eye and twist two short strips of kraft paper into curved upper and lower eyelids.
Glue the oval onto the front, then glue the twisted-paper eyelids around it. Brush a thin coat of school glue over the rest of the cover and press on wrinkled tissue or thin brown paper, keeping the eye visible. Let everything dry fully, preferably overnight.
Paint the cover dark brown and brush black paint into the wrinkles. Paint the page-edge side cream, leaving the opposite narrow side dark as the spine. Use thin coats and let them dry according to the paint label before the final detail.
Lightly brush copper-colored paint across the raised eyelids and paper wrinkles. Paint the eye copper with a simple black pupil, then draw parallel page lines on the dry cream edge. Let the prop dry completely and display it flat or upright against a stable support.
A little help: Use water-based craft paint and a covered work surface. Keep the lightweight prop dry, away from heat, and out of walkways; no hot glue, resin or sharp sculpting tools are needed.
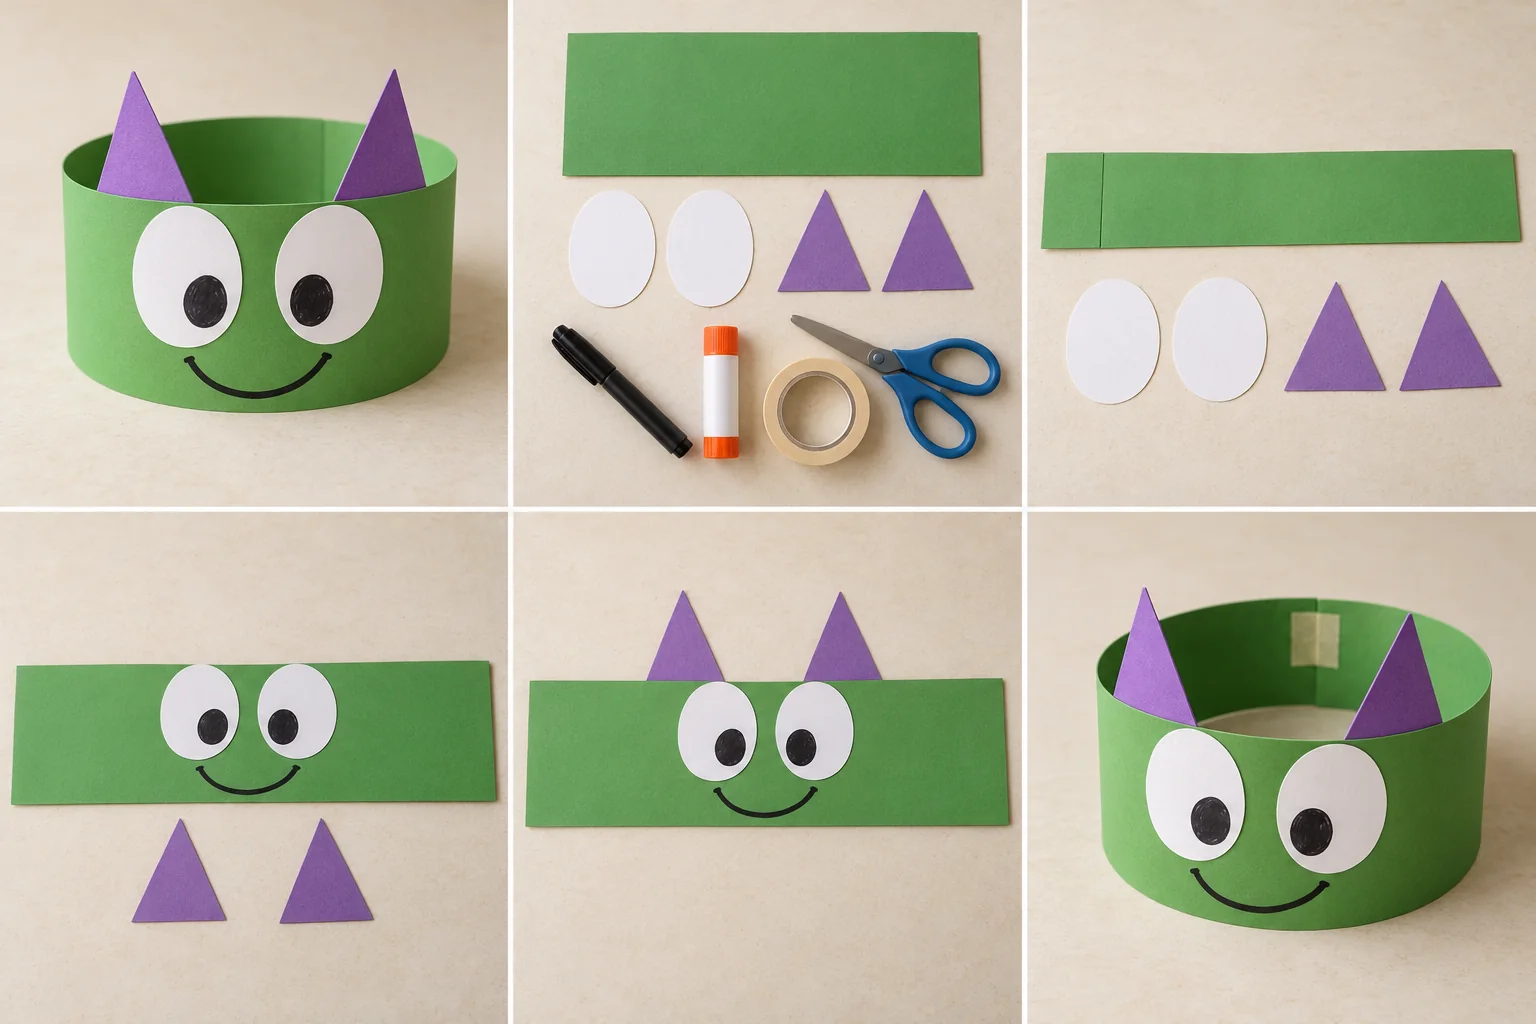
Make a friendly green monster crown with enormous paper eyes, purple horns, and a grin your child designs. Then invent a silly monster walk for a living-room parade.
25 min hands-on · 1 or more makers Ages 3–4 with a grown-up; older children can make their own
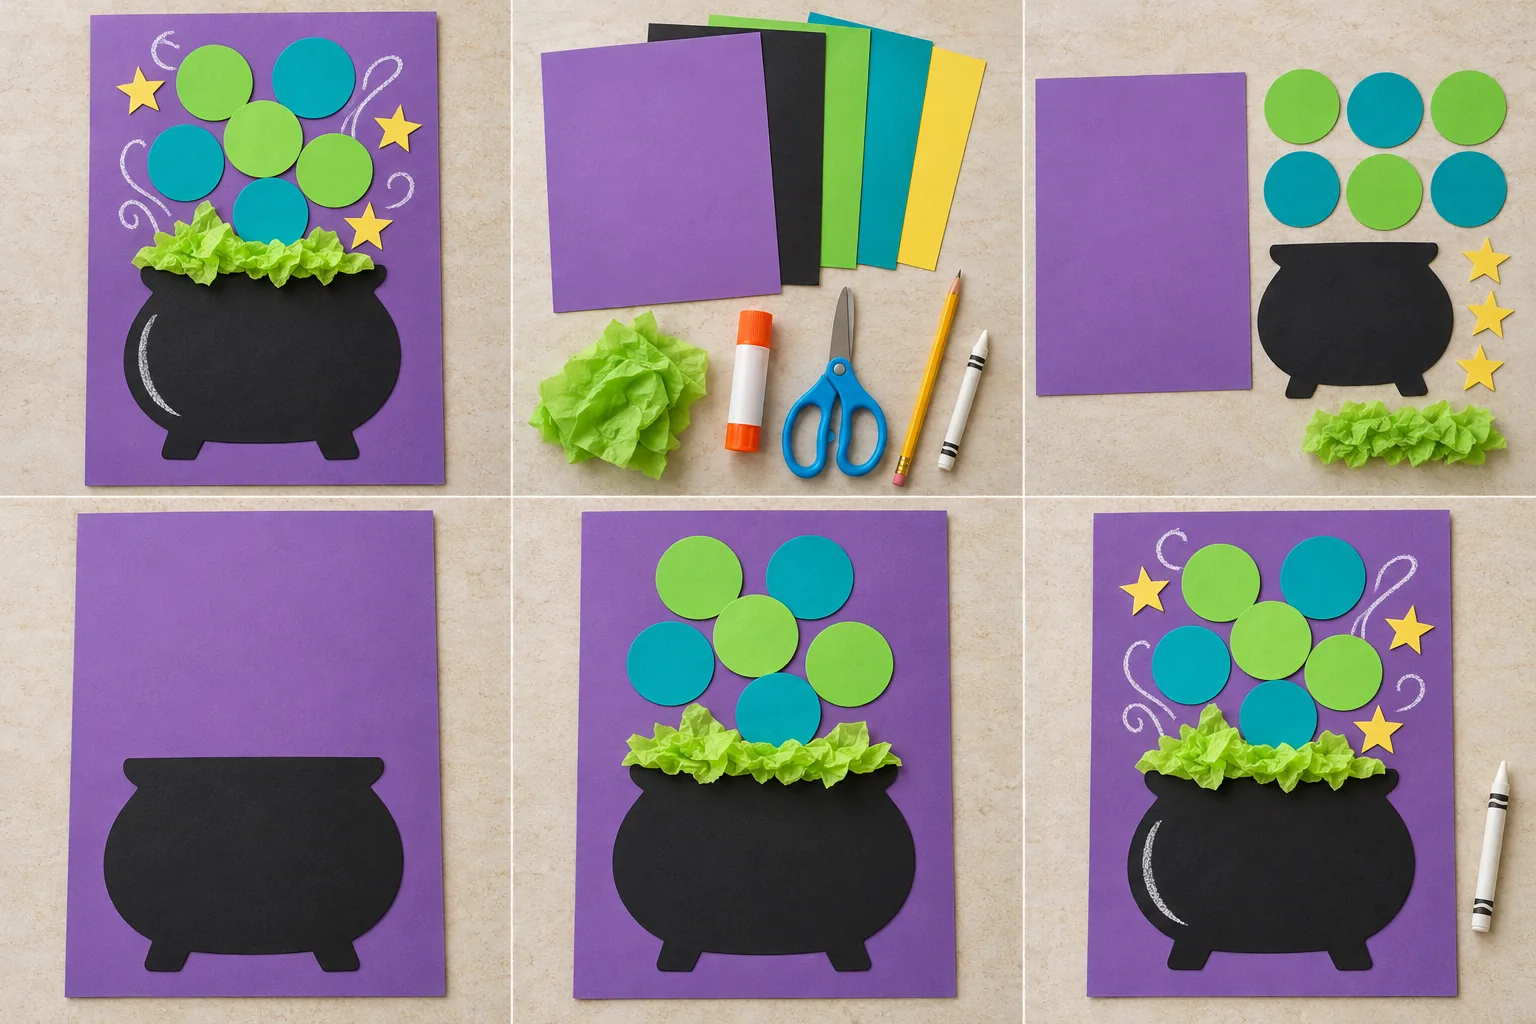
Fill a paper cauldron with pretend fizzy bubbles, crinkled tissue, and little yellow stars. Everything stays on the page: a colorful witches-and-wizards project with no mixing or heat.
35 min hands-on · 1 or more makers Ages 6+ with a grown-up nearby
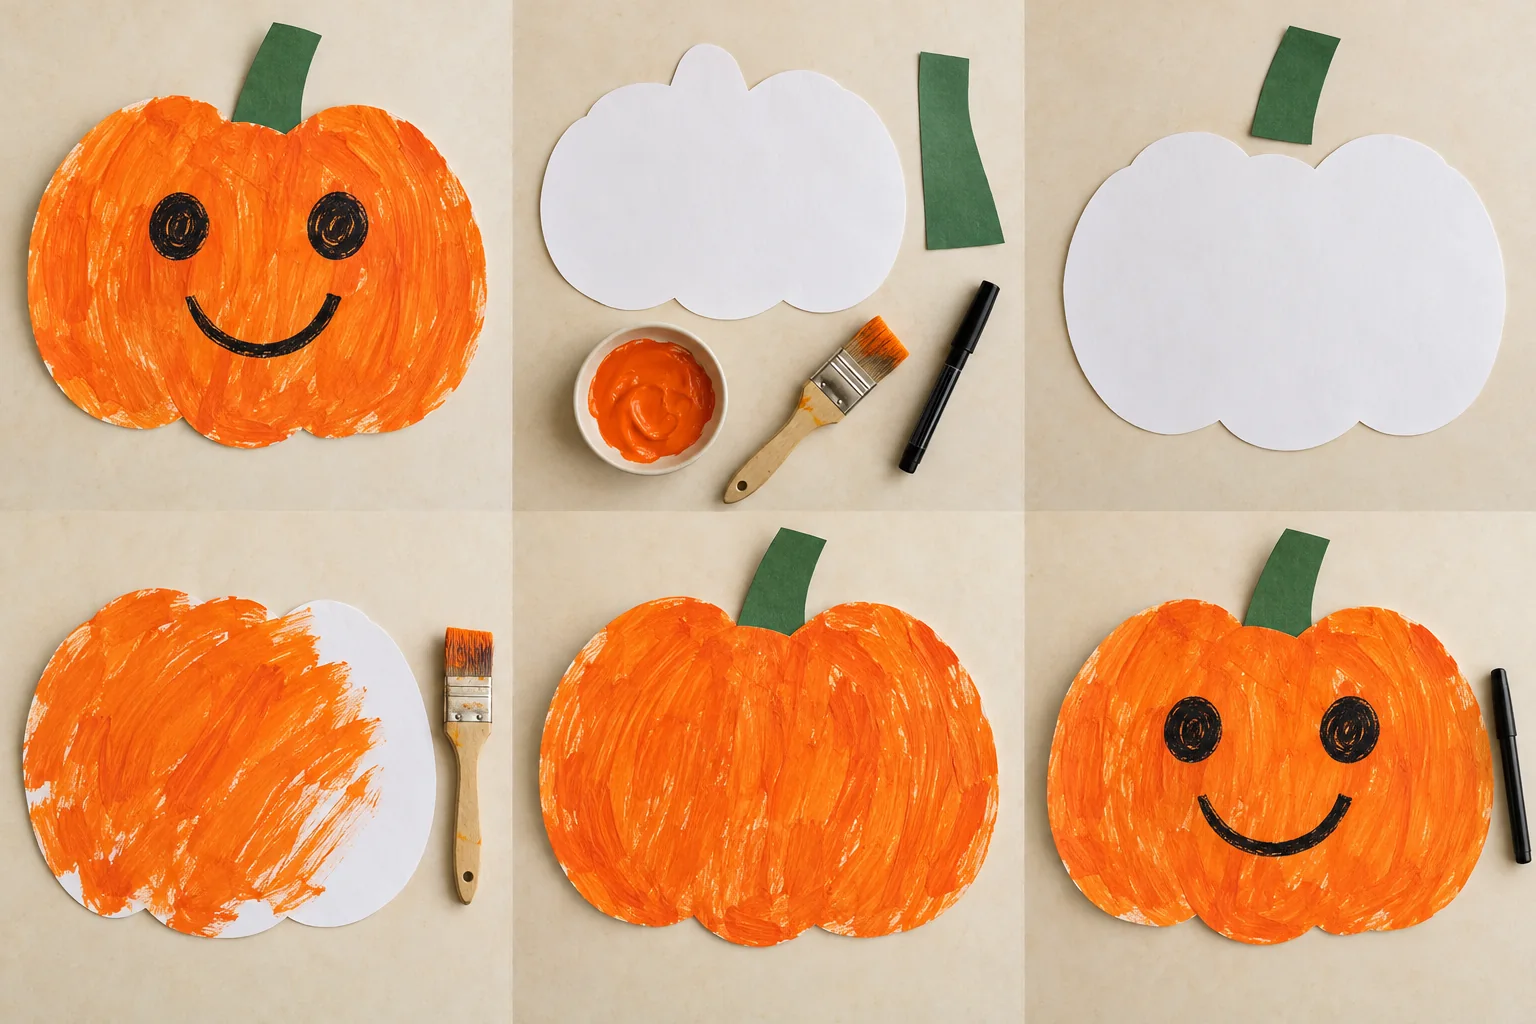
Let a toddler explore orange paint on a big paper pumpkin, then choose a friendly face together. There is no carving and no need to stay inside the lines.
25 min hands-on · 1–4 makers, each with an adult nearby Ages 2–4 with a hands-on adult throughout