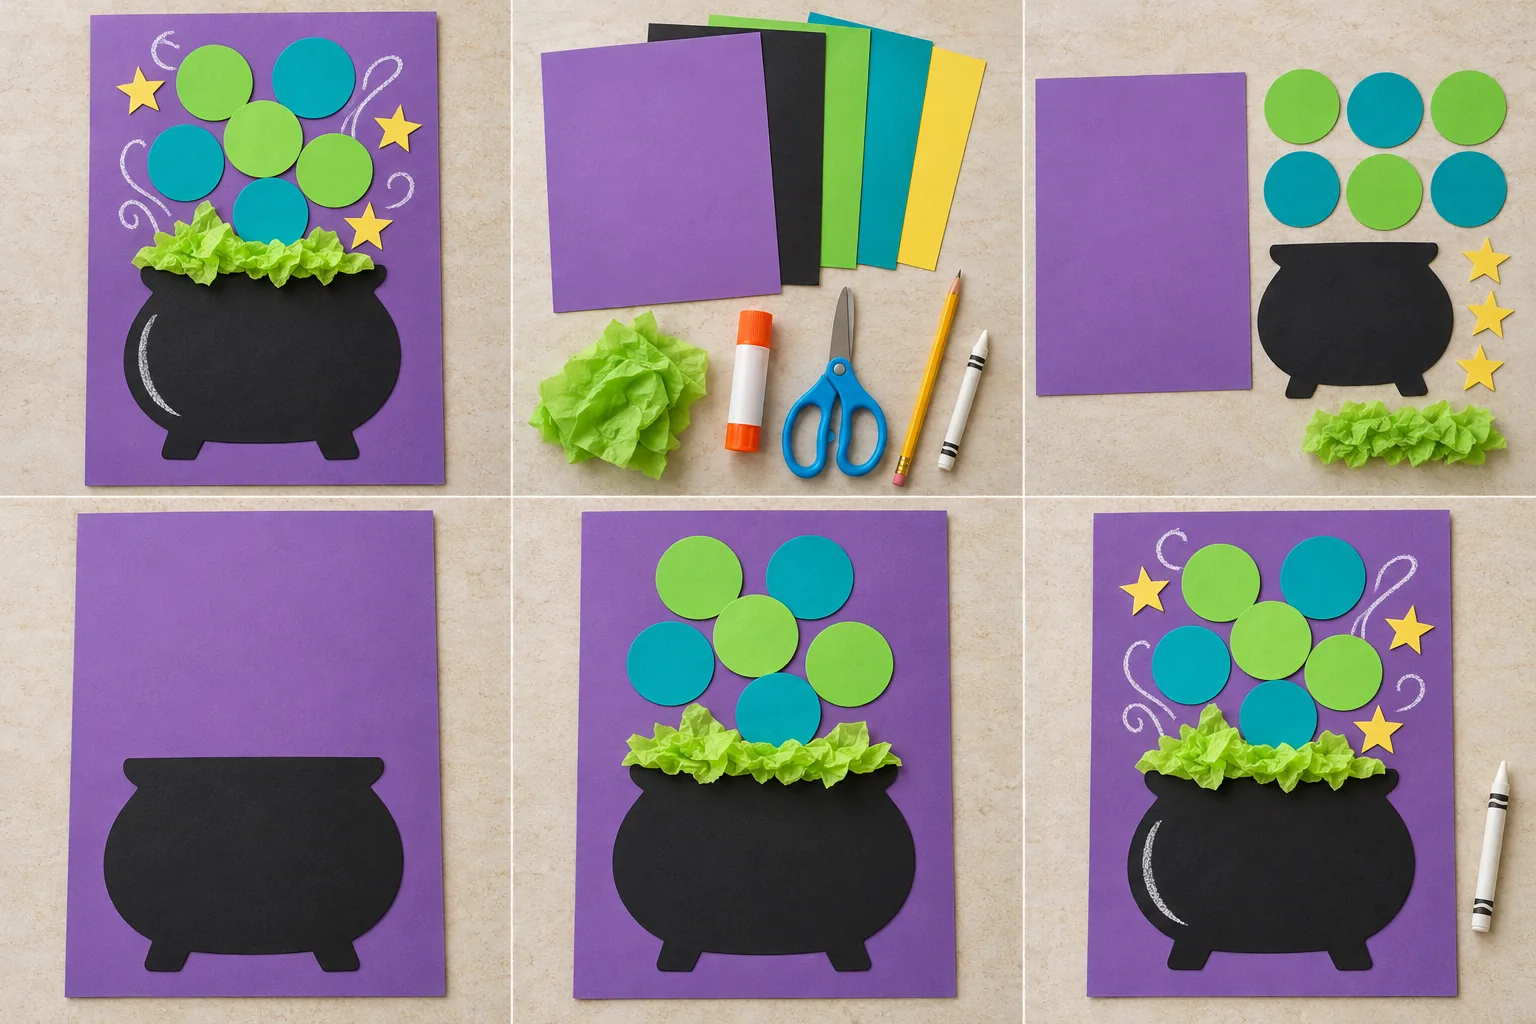
Fill a paper cauldron with pretend fizzy bubbles, crinkled tissue, and little yellow stars. Everything stays on the page: a colorful witches-and-wizards project with no mixing or heat.
A grown-up helps with scissors and pointed star shapes as needed. The 35 minutes are hands-on time; leave the finished page flat for additional drying according to the glue label.
View larger ↗One way your finished project could look.
A LITTLE INSPIRATION
See it. Make it. Make it yours.
Start with this finished example, then follow the four illustrated steps below. Choose the colors and details that feel like you.
Turn the purple cardstock upright. Draw and cut a wide black cauldron with a nearly flat top, a rounded belly, and two short feet. Cut six green or teal bubble circles and three yellow stars. A grown-up can prepare the shapes or help with the star points.
Glue the black cauldron in the lower half of the purple sheet, leaving plenty of purple space above it for floating bubbles. Press the whole pot flat, especially its feet and top edge.
Tear the lime-green tissue into short, wide strips. Loosely crinkle them and glue them along the cauldron's top edge as pretend foam. Glue the green and teal circles above the pot at different heights; overlap a few so the bubbles look as though they are floating upward.
Glue the three yellow stars into the open spaces around the bubbles. Add short curling steam lines and a curved highlight on the pot with a white crayon. Leave the collage flat until the glue holds, then describe the imaginary potion's silly power.
A little help: Keep this a paper-only potion. The bubbles and foam are collage pieces; the project does not need real liquids, flames, dry ice, or chemical ingredients.
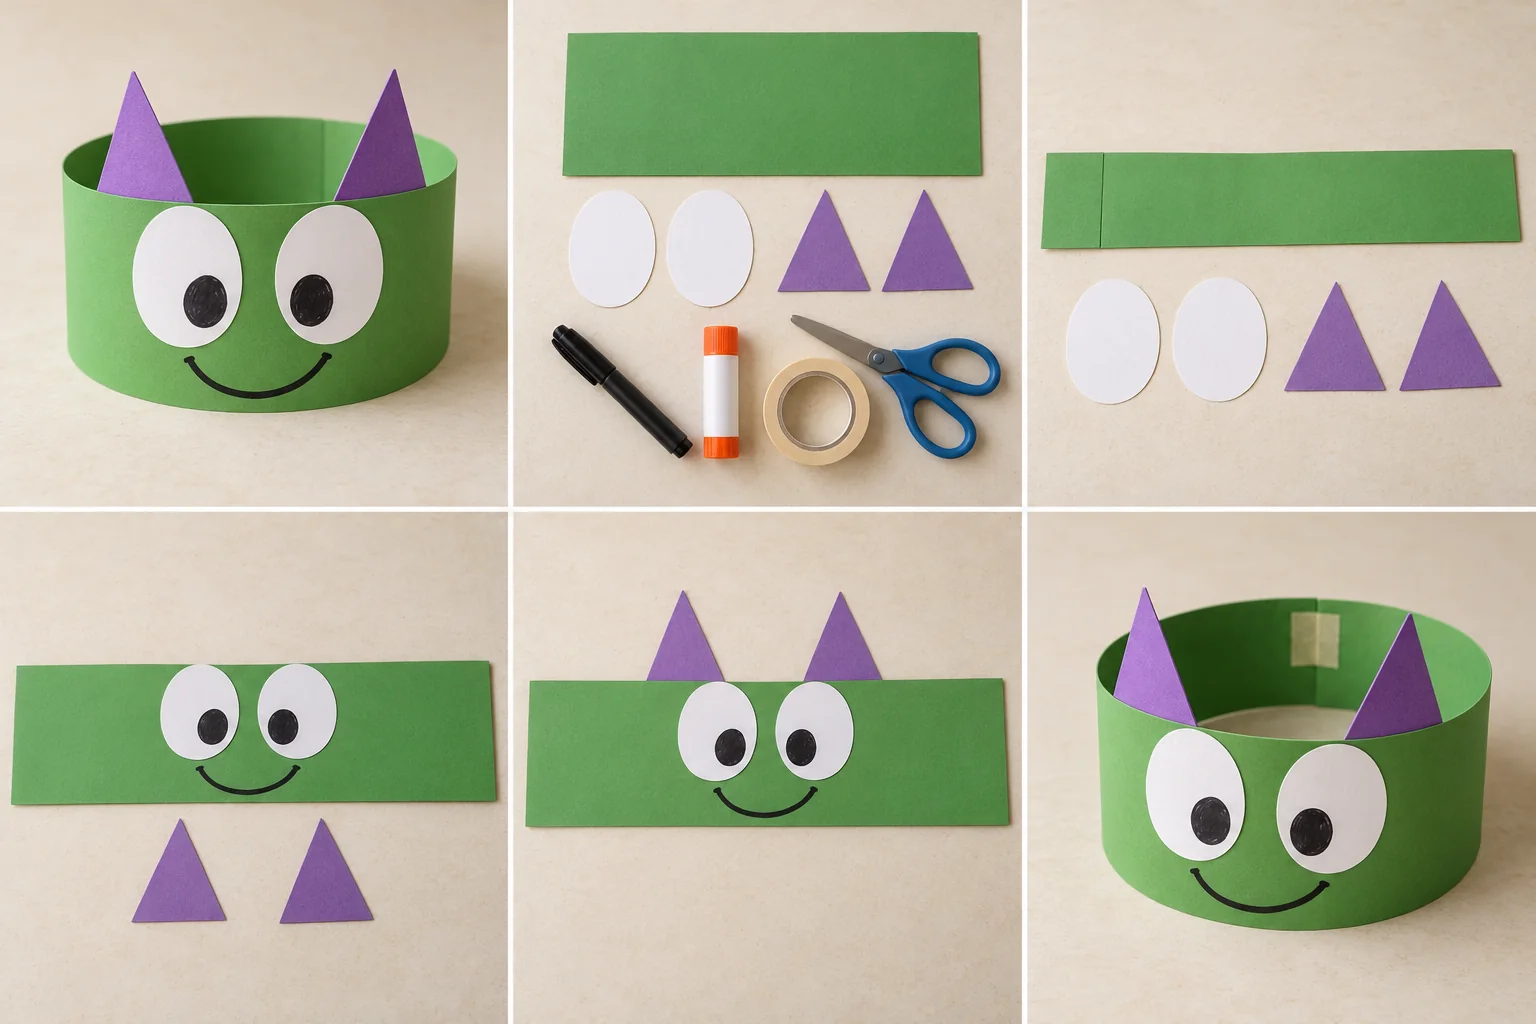
Make a friendly green monster crown with enormous paper eyes, purple horns, and a grin your child designs. Then invent a silly monster walk for a living-room parade.
25 min hands-on · 1 or more makers Ages 3–4 with a grown-up; older children can make their own
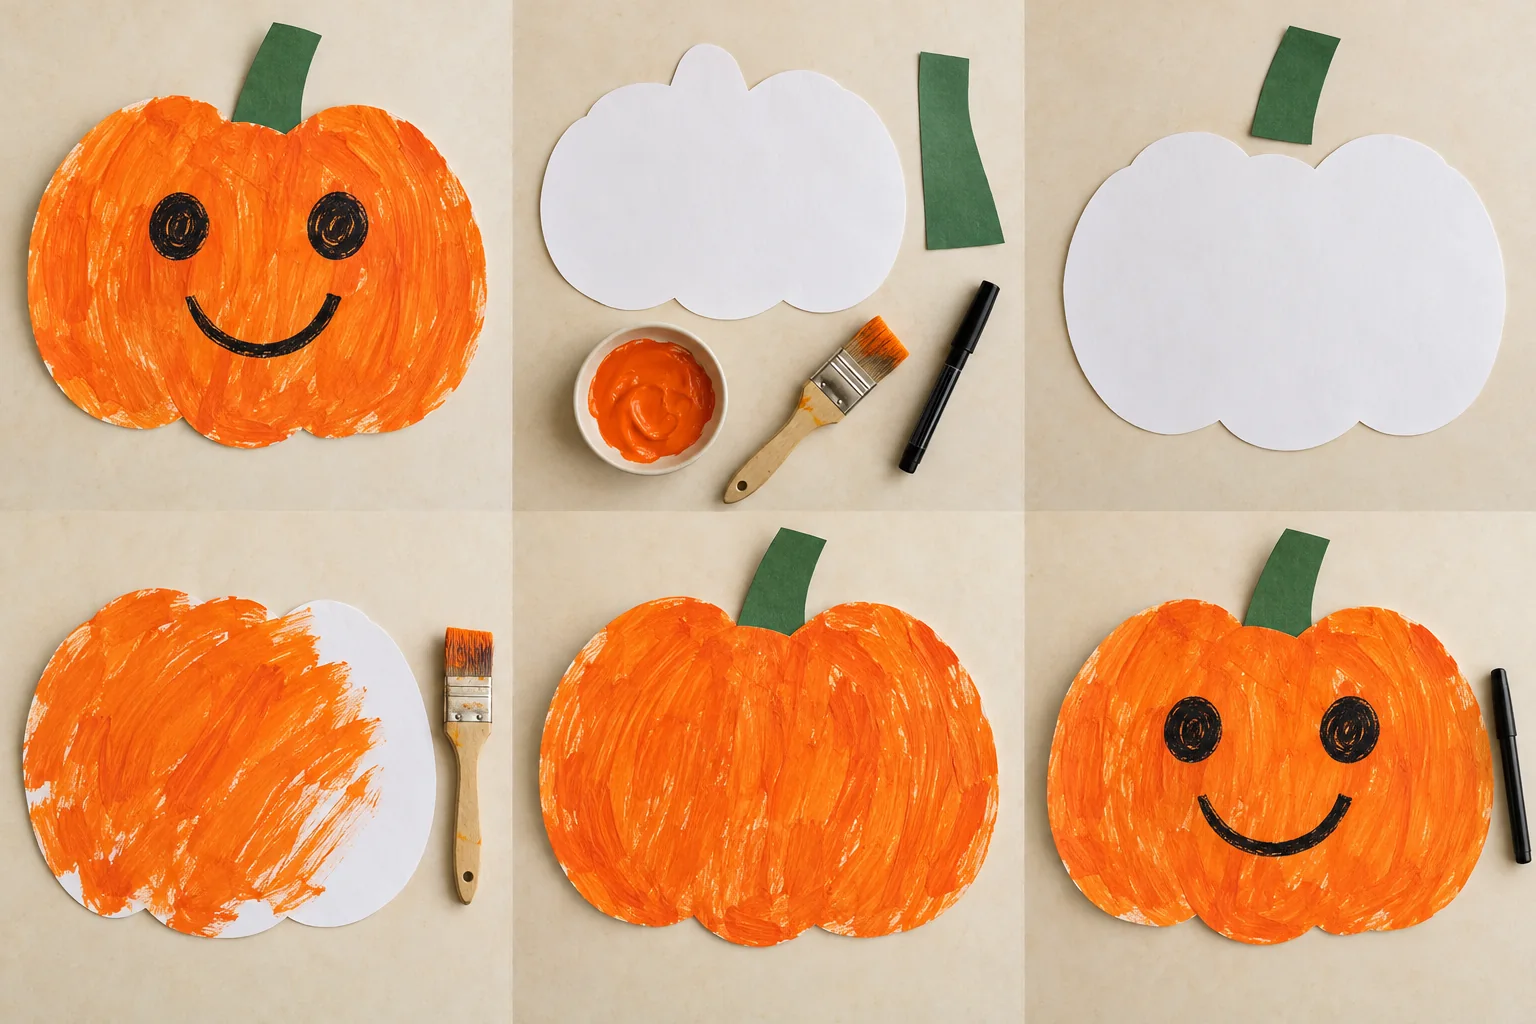
Let a toddler explore orange paint on a big paper pumpkin, then choose a friendly face together. There is no carving and no need to stay inside the lines.
25 min hands-on · 1–4 makers, each with an adult nearby Ages 2–4 with a hands-on adult throughout