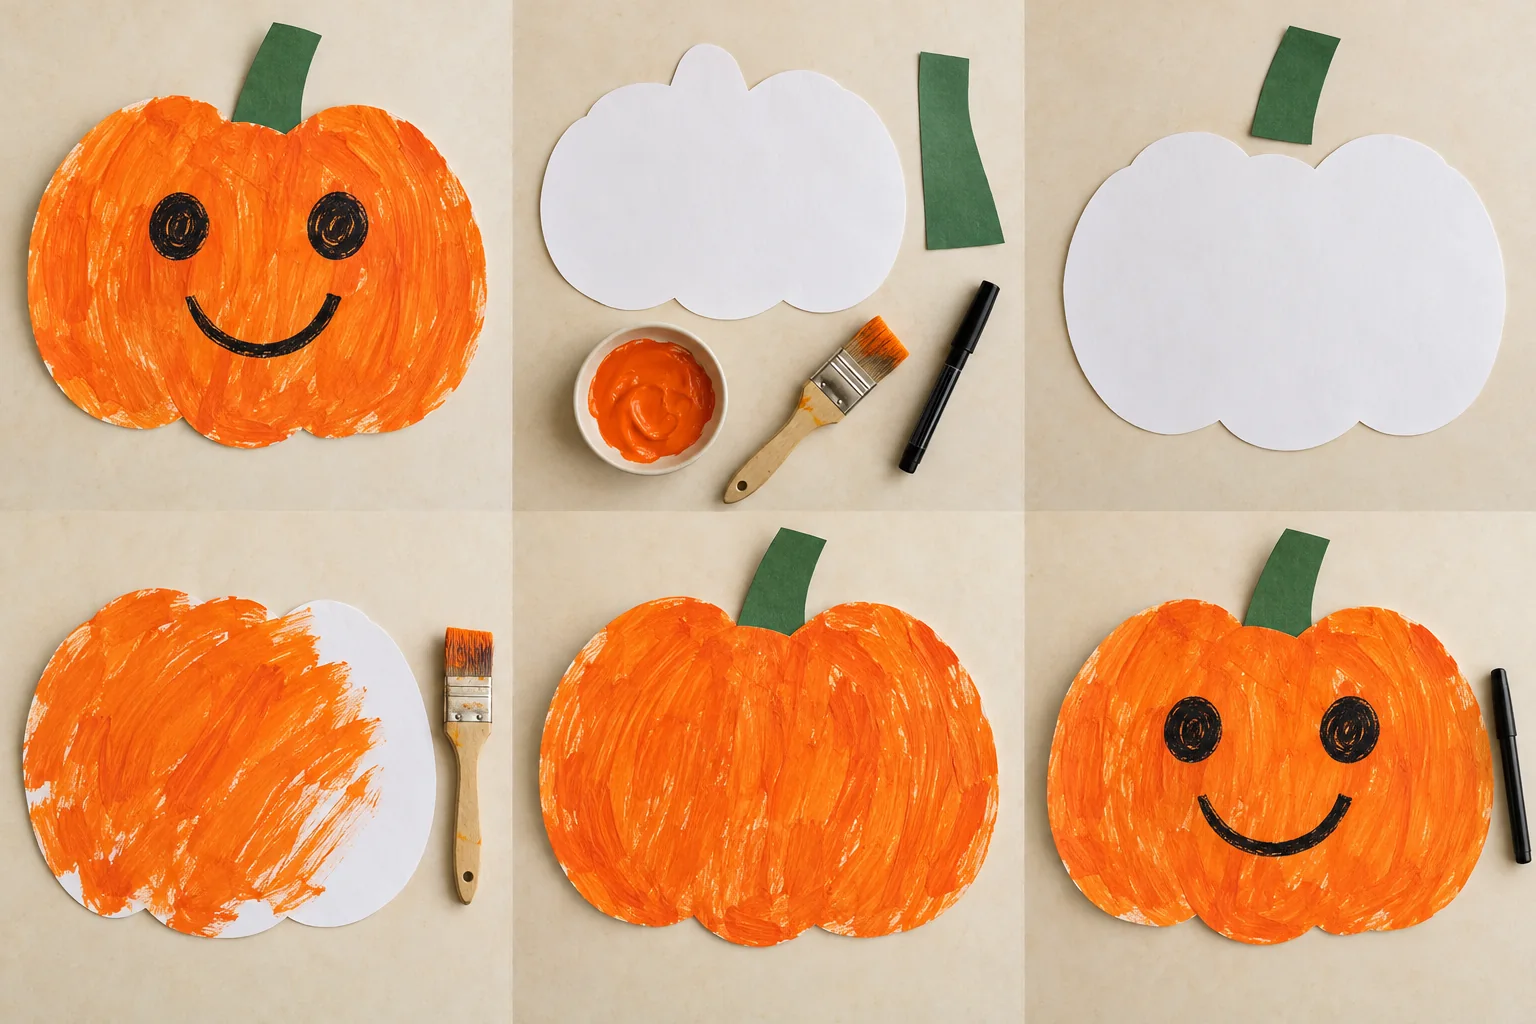
Let a toddler explore orange paint on a big paper pumpkin, then choose a friendly face together. There is no carving and no need to stay inside the lines.
25 min hands-on1–4 makers, each with an adult nearbyAges 2–4 with a hands-on adult throughoutEasy4 illustrated steps ↓
Allow 5 minutes of adult cutting before starting and roughly 20–40 minutes for paint to dry, depending on thickness.
View larger ↗One way your finished project could look.
A LITTLE INSPIRATION
See it. Make it. Make it yours.
Start with this finished example, then follow the four illustrated steps below. Choose the colors and details that feel like you.
Before the child joins in, an adult cuts one broad pumpkin shape from white cardstock and one large green stem. Cover the table and put a little orange paint on a washable tray. Keep scissors, glue and the marker in the adult's work area.
Invite the child to brush orange paint across the pumpkin. They can cover the whole shape or leave white patches. Offer more paint a little at a time; the adult holds the paper steady if it slides.
Let the paint dry completely. An adult spreads glue on the lower end of the large green stem, then helps the child press it behind the top of the pumpkin.
Ask whether the pumpkin should look happy, sleepy or surprised. An adult draws large eyes and a simple mouth with the marker. Let the child name the pumpkin and display it flat on a shelf or wall.
A little help: Use paint labeled for the child's age and keep it out of mouths. Skip beads, glitter, googly eyes and other loose small decorations; this project only needs paint and large paper shapes.
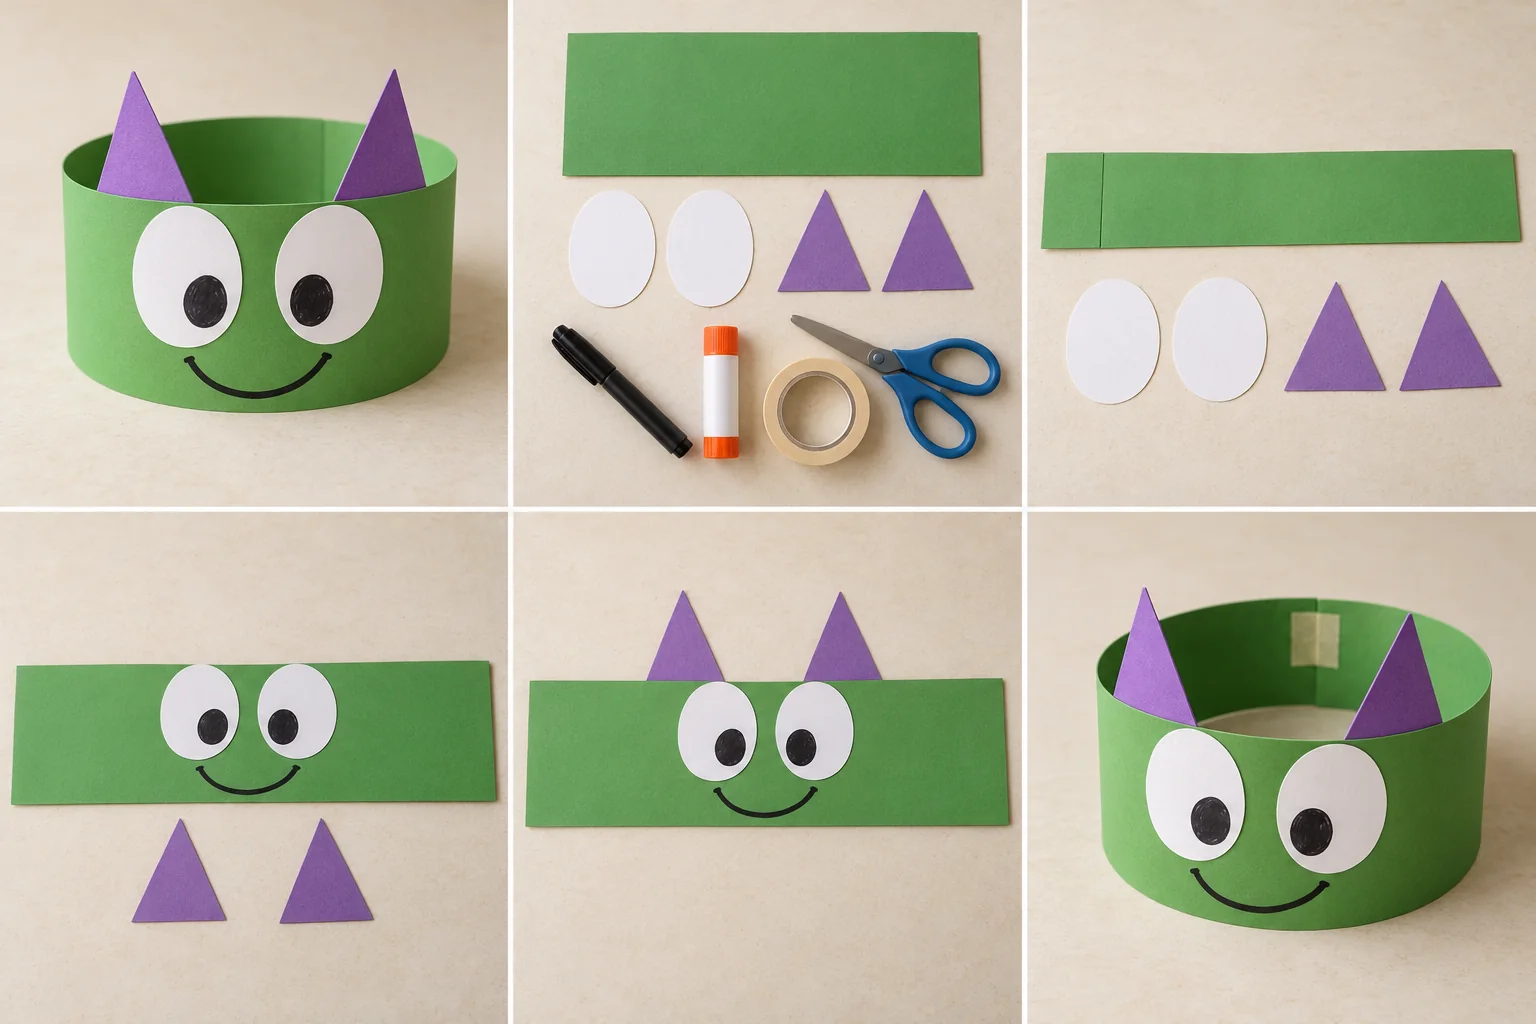
Make a friendly green monster crown with enormous paper eyes, purple horns, and a grin your child designs. Then invent a silly monster walk for a living-room parade.
25 min hands-on · 1 or more makers Ages 3–4 with a grown-up; older children can make their own
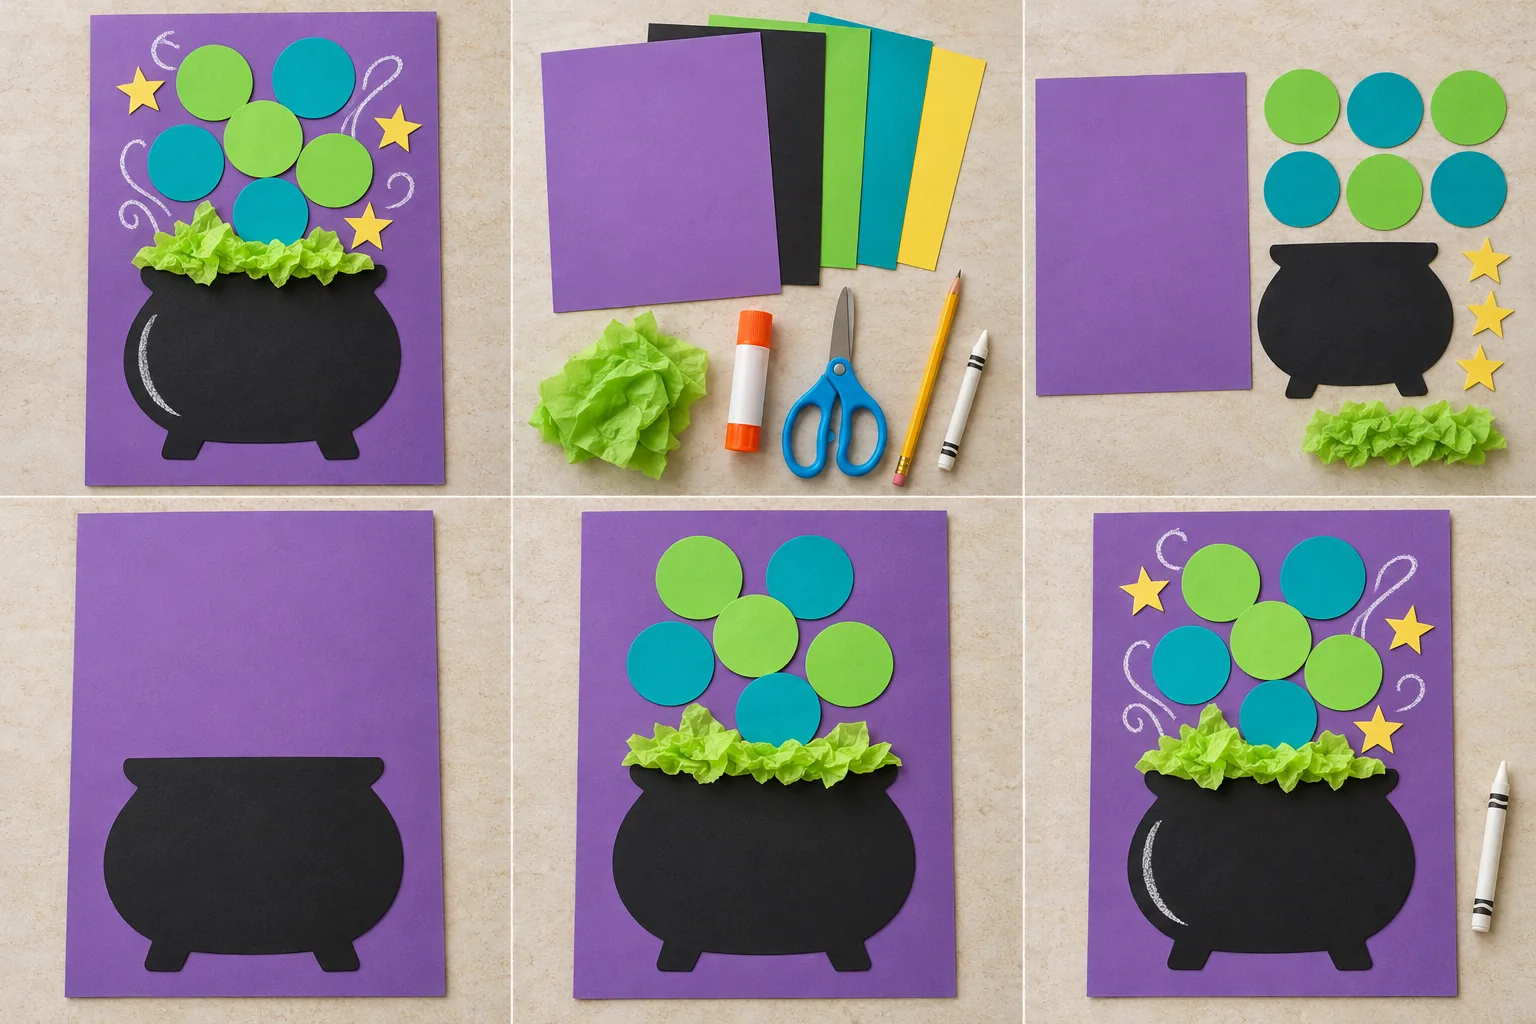
Fill a paper cauldron with pretend fizzy bubbles, crinkled tissue, and little yellow stars. Everything stays on the page: a colorful witches-and-wizards project with no mixing or heat.
35 min hands-on · 1 or more makers Ages 6+ with a grown-up nearby