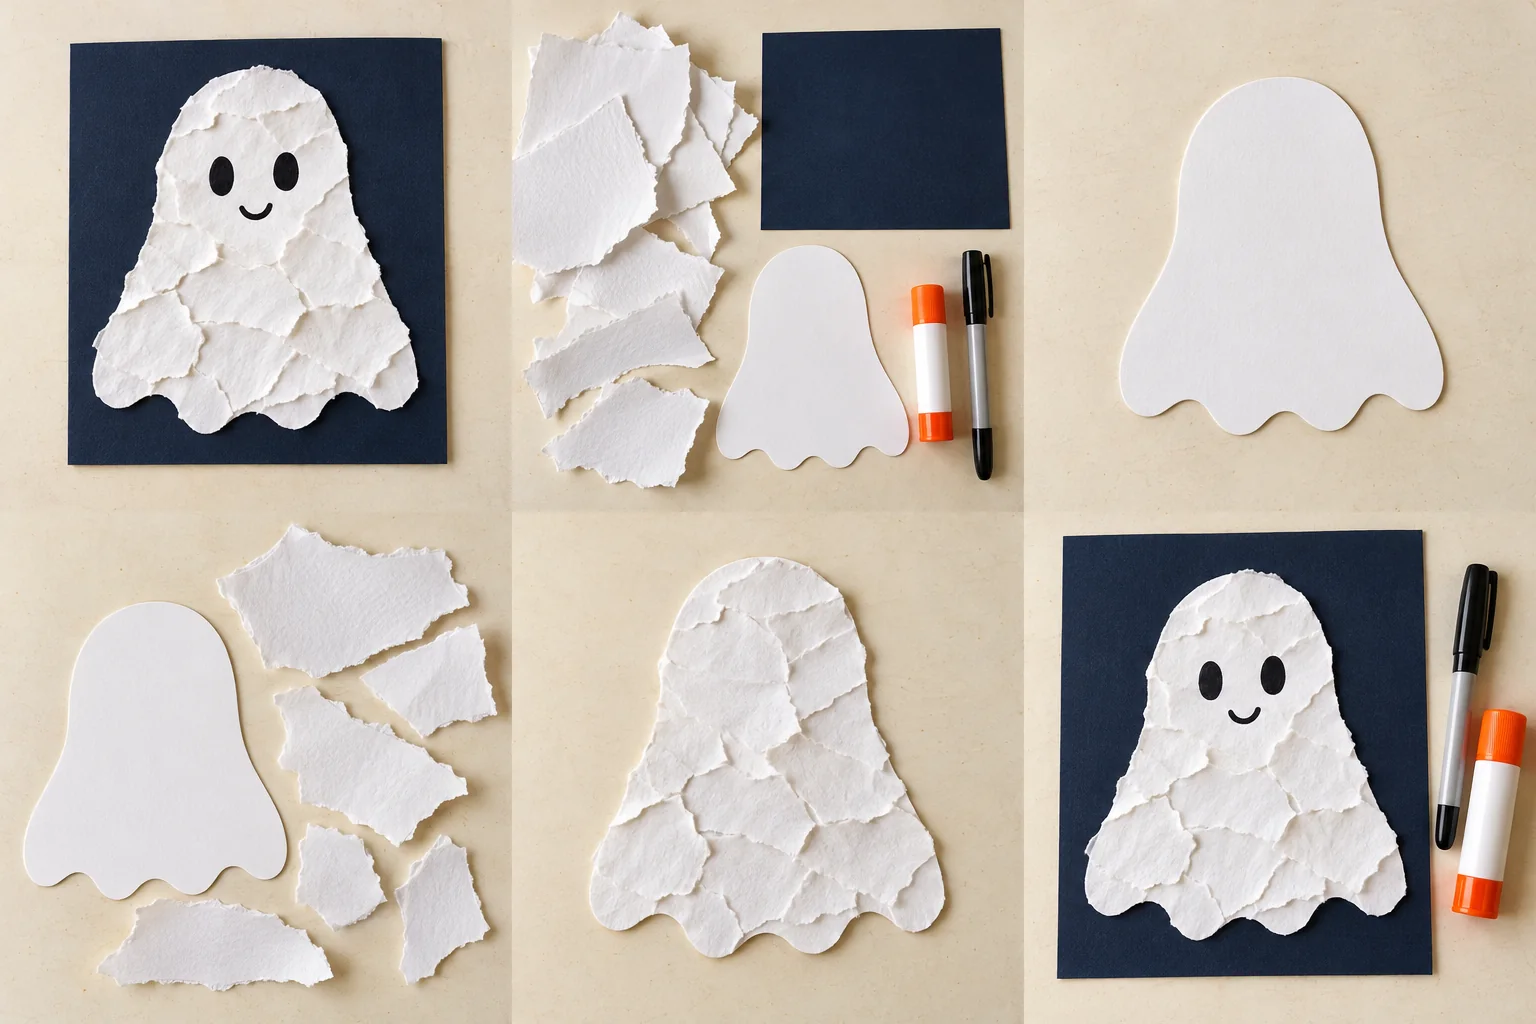
An adult cuts a large, rounded ghost silhouette from white cardstock, with a wavy bottom and no narrow parts. Place the ghost and a sheet of white scrap paper on the table; save the dark-blue background for the end.
Tear the scrap paper together into large, easy-to-grasp pieces, roughly 2 inches across. The adult can start a tear at the edge so the child can pull the paper apart. A few big pieces are plenty.
An adult puts glue on the ghost a section at a time. Help the child overlap and press the torn paper onto that sticky area. Keep the pieces mostly inside the ghost's outline so its rounded shape stays visible.
An adult draws two large eyes and a little smile, then glues the textured ghost onto the dark-blue cardstock. Press the edges flat and let it dry. Give the ghost a friendly name together.
A little help: Supervise closely and keep paper and glue out of mouths. Use large paper pieces rather than cotton balls, sequins or googly eyes, and clear away fallen scraps as you go.
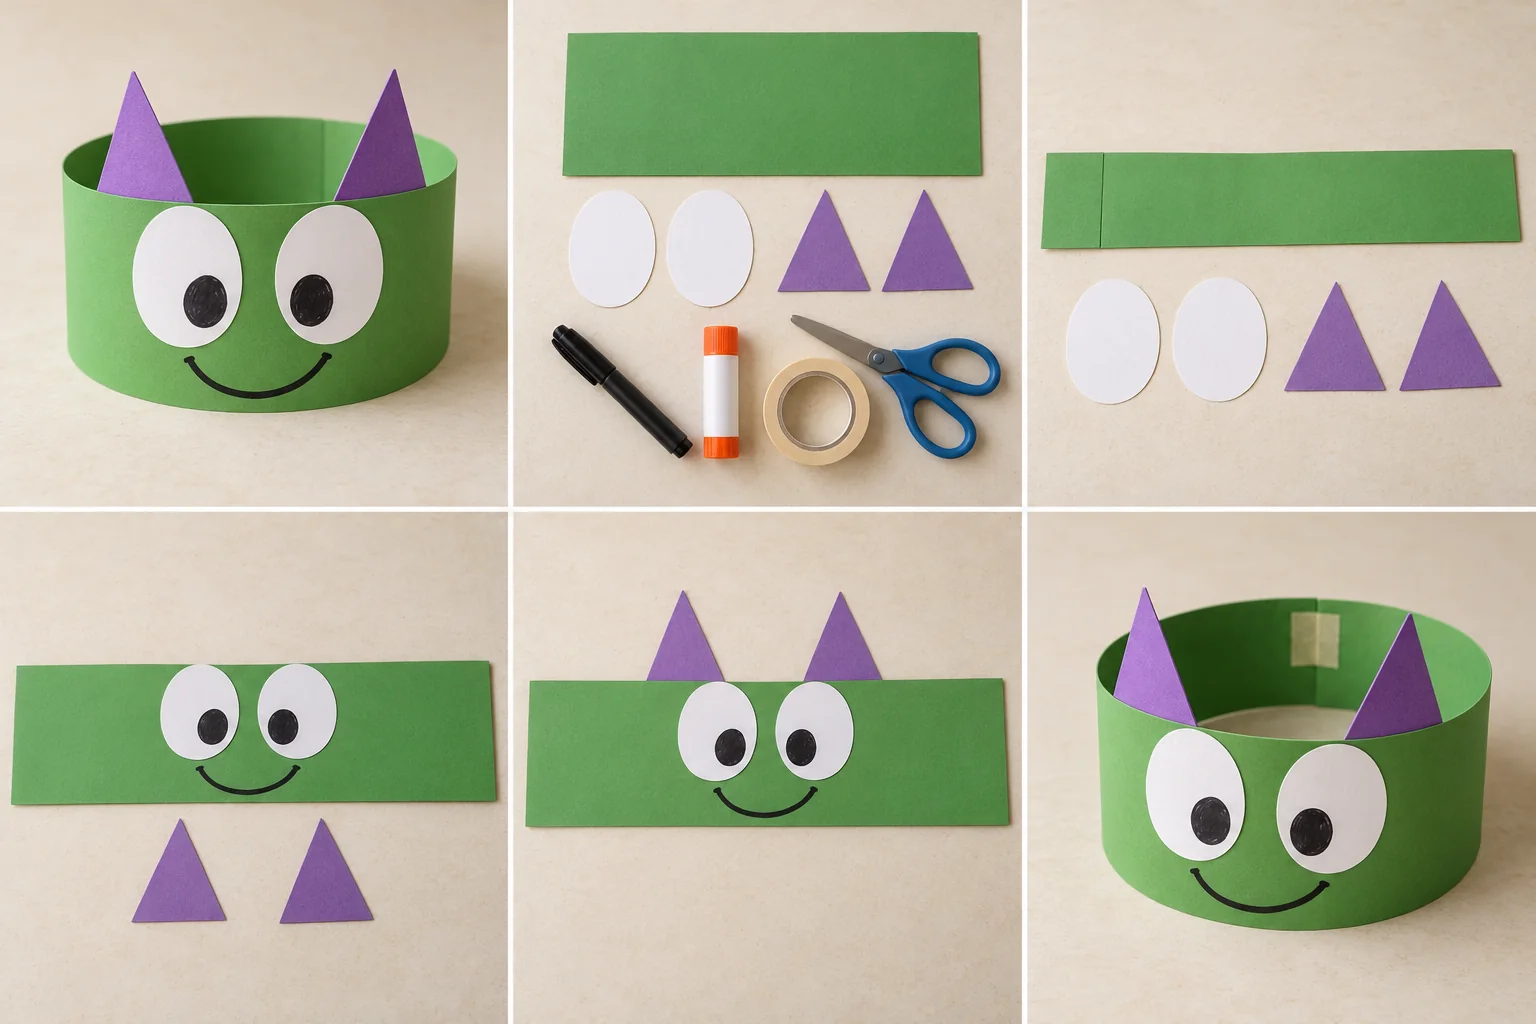
Make a friendly green monster crown with enormous paper eyes, purple horns, and a grin your child designs. Then invent a silly monster walk for a living-room parade.
25 min hands-on · 1 or more makers Ages 3–4 with a grown-up; older children can make their own
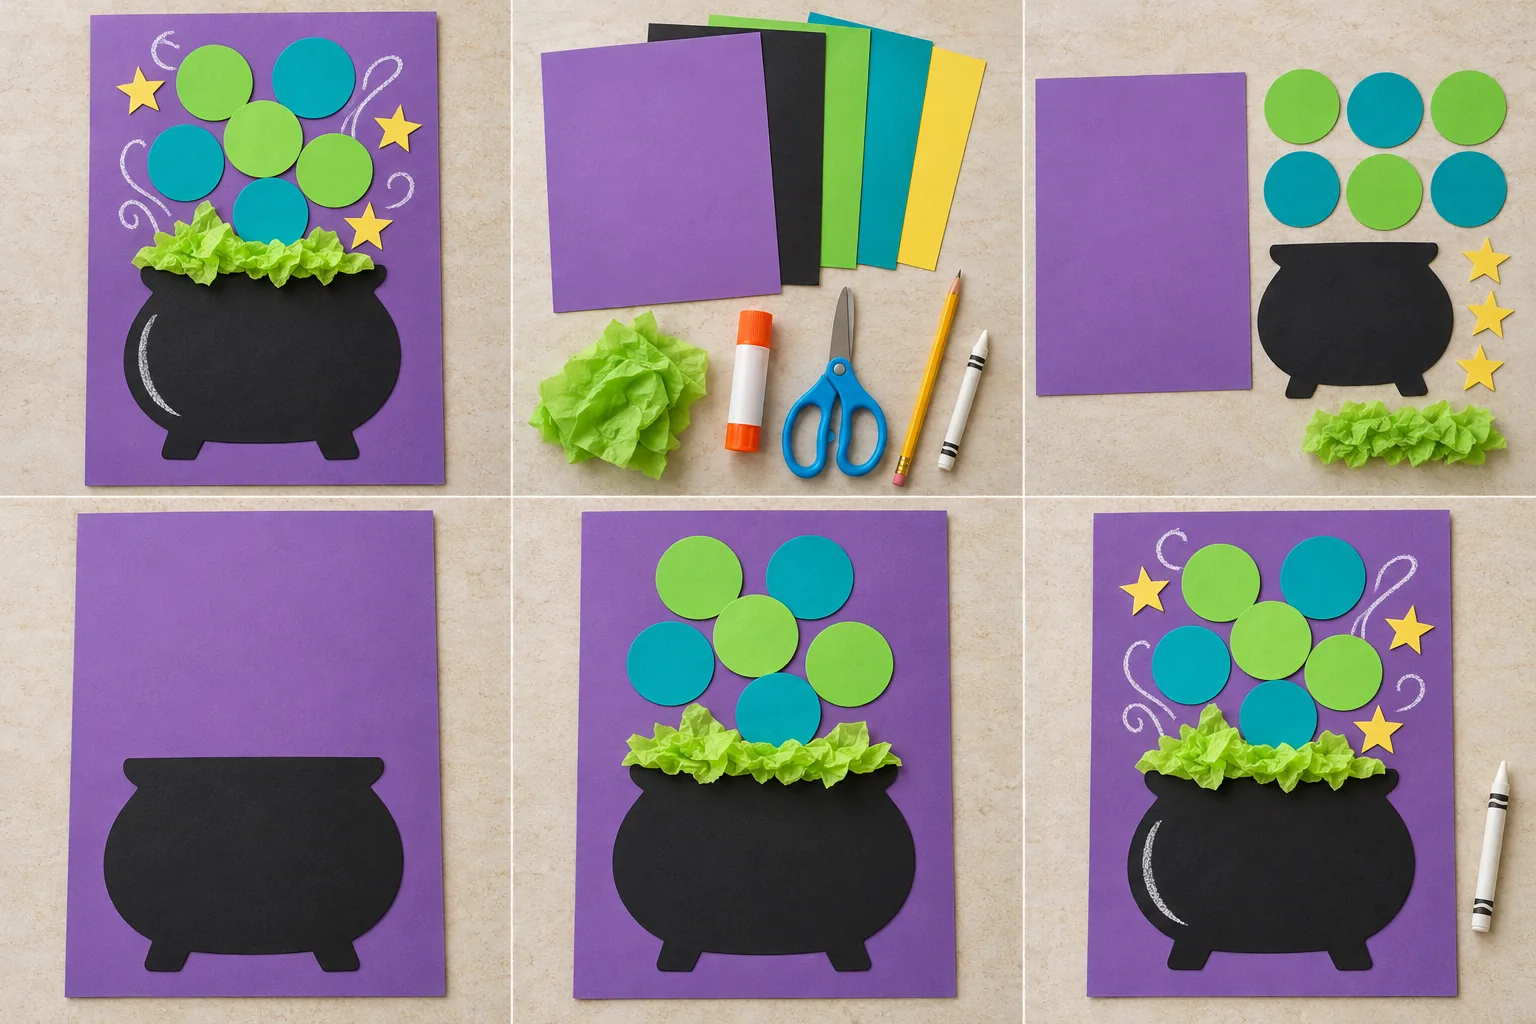
Fill a paper cauldron with pretend fizzy bubbles, crinkled tissue, and little yellow stars. Everything stays on the page: a colorful witches-and-wizards project with no mixing or heat.
35 min hands-on · 1 or more makers Ages 6+ with a grown-up nearby
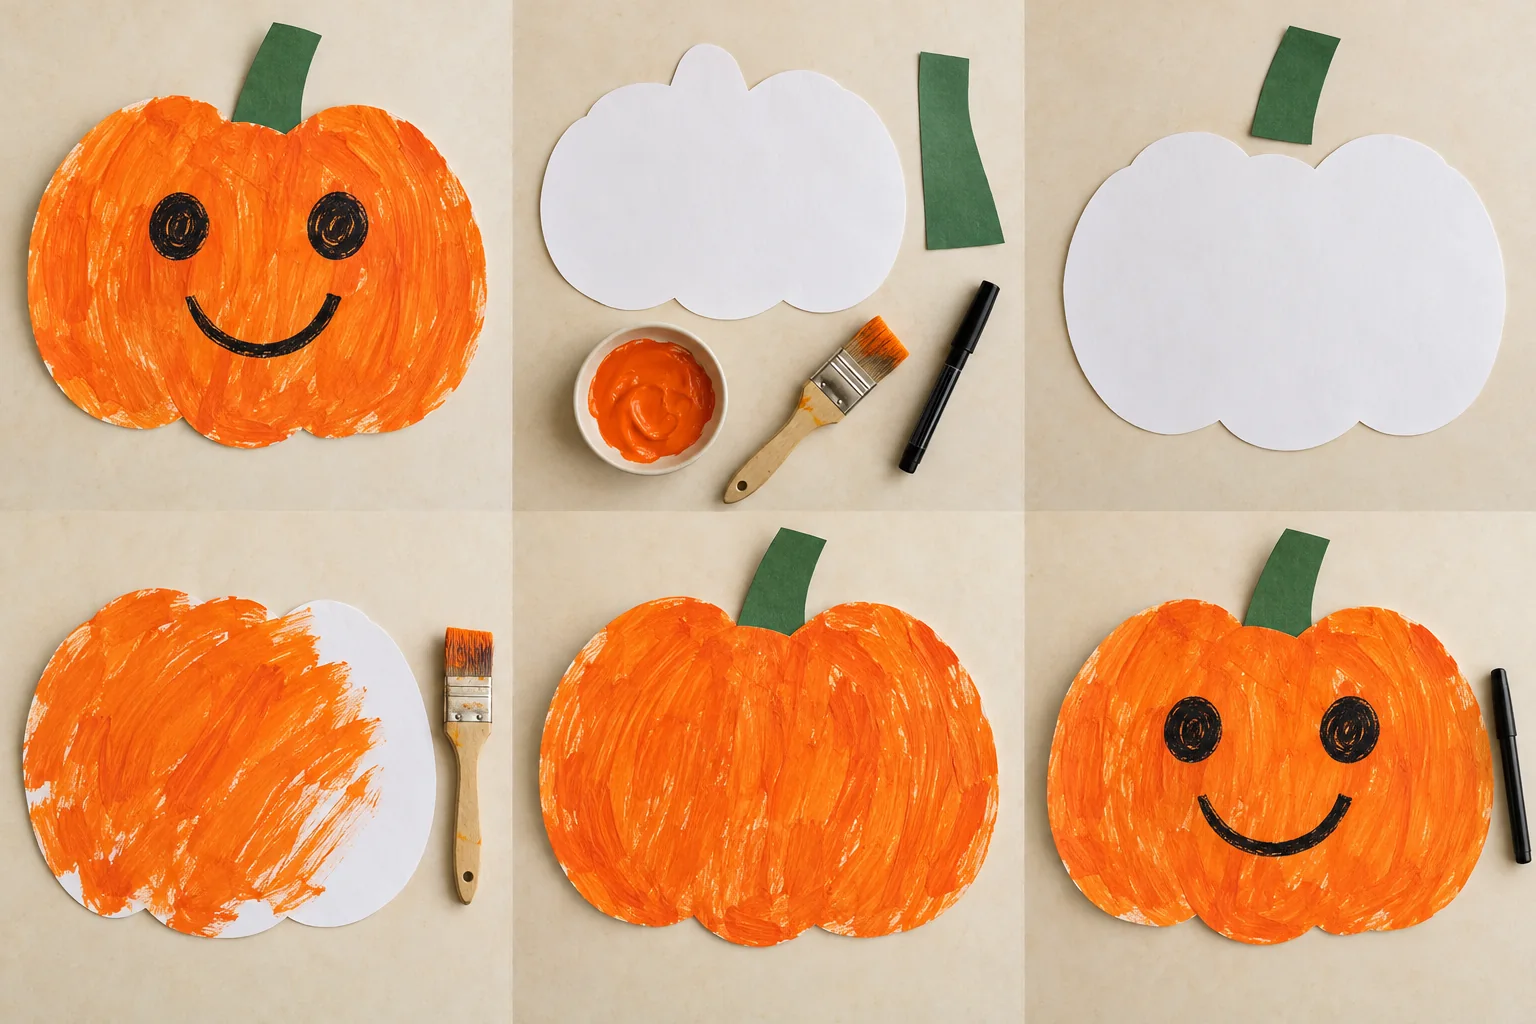
Let a toddler explore orange paint on a big paper pumpkin, then choose a friendly face together. There is no carving and no need to stay inside the lines.
25 min hands-on · 1–4 makers, each with an adult nearby Ages 2–4 with a hands-on adult throughout