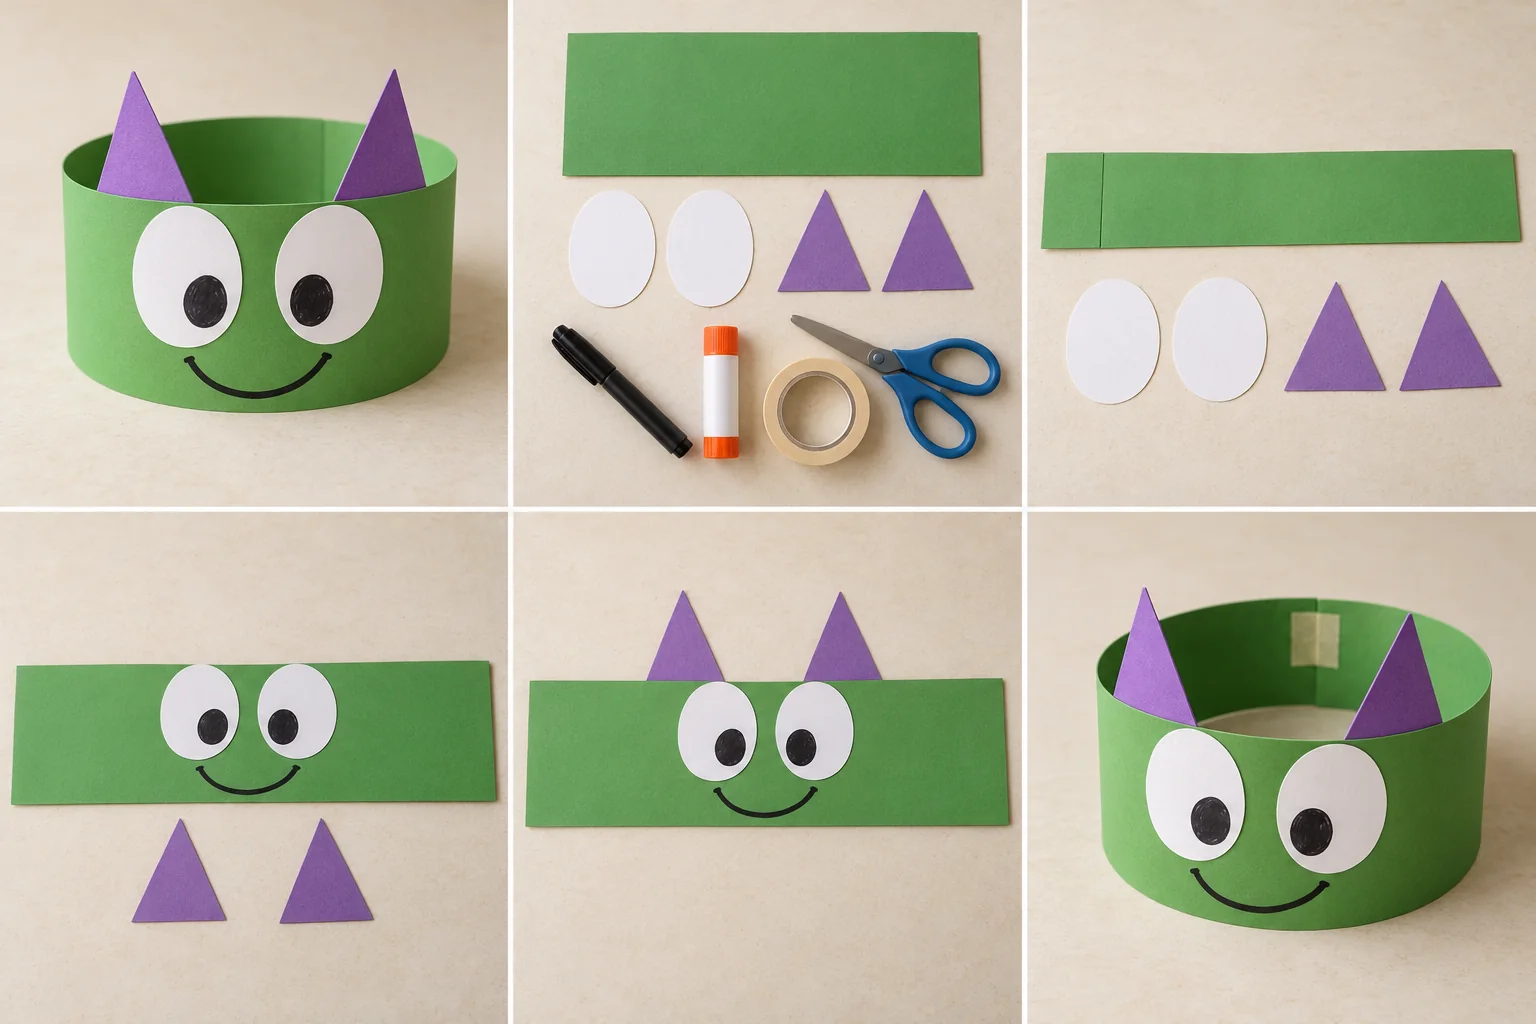
Make a friendly green monster crown with enormous paper eyes, purple horns, and a grin your child designs. Then invent a silly monster walk for a living-room parade.
The grown-up handles cutting, measuring, and fastening. Ages 3–4 need close hands-on supervision. Allow the glue to hold before wearing; follow the glue label for drying time.
View larger ↗One way your finished project could look.
A LITTLE INSPIRATION
See it. Make it. Make it yours.
Start with this finished example, then follow the four illustrated steps below. Choose the colors and details that feel like you.
A grown-up cuts two green strips about 28 × 8 cm, two large white eye ovals, and two broad purple triangle horns. Tape the green strips together at one short end, overlapping by about 2 cm, to make one long band. Leave the other ends open.
Keep the band flat. Glue the two big white eyes near the middle of the front section. Draw black pupils and a large smile directly on the paper; let your child choose a happy, surprised, or wonderfully silly expression.
Glue the bottoms of the two purple horns behind the band's upper edge, one above each eye, so the purple points stand above the green band. Press the joins flat. A grown-up can reinforce the backs with masking tape.
After the glue holds, a grown-up loosely measures the band around the child's head. Remove it, overlap the free ends, and tape the join on the table to make a comfortable ring. Add another strip if needed. Try on the finished crown and give the monster a name and a silly parade walk.
A little help: Large paper eyes and a drawn face keep this project simple. Skip loose googly eyes, beads, staples, cords, and elastic.
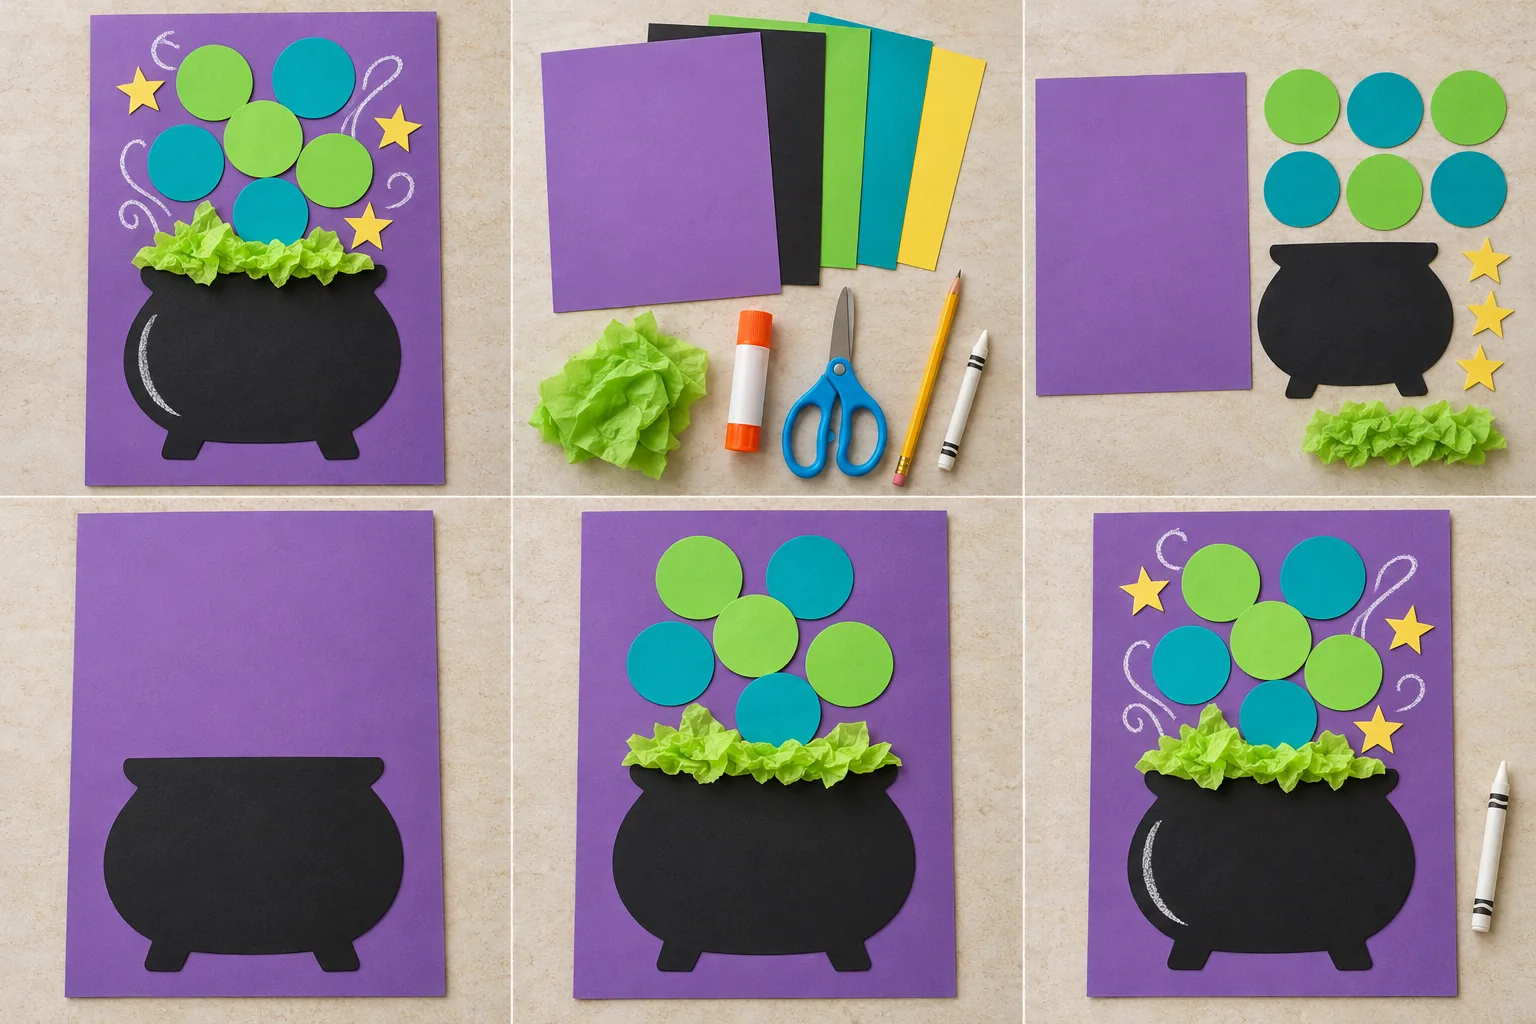
Fill a paper cauldron with pretend fizzy bubbles, crinkled tissue, and little yellow stars. Everything stays on the page: a colorful witches-and-wizards project with no mixing or heat.
35 min hands-on · 1 or more makers Ages 6+ with a grown-up nearby
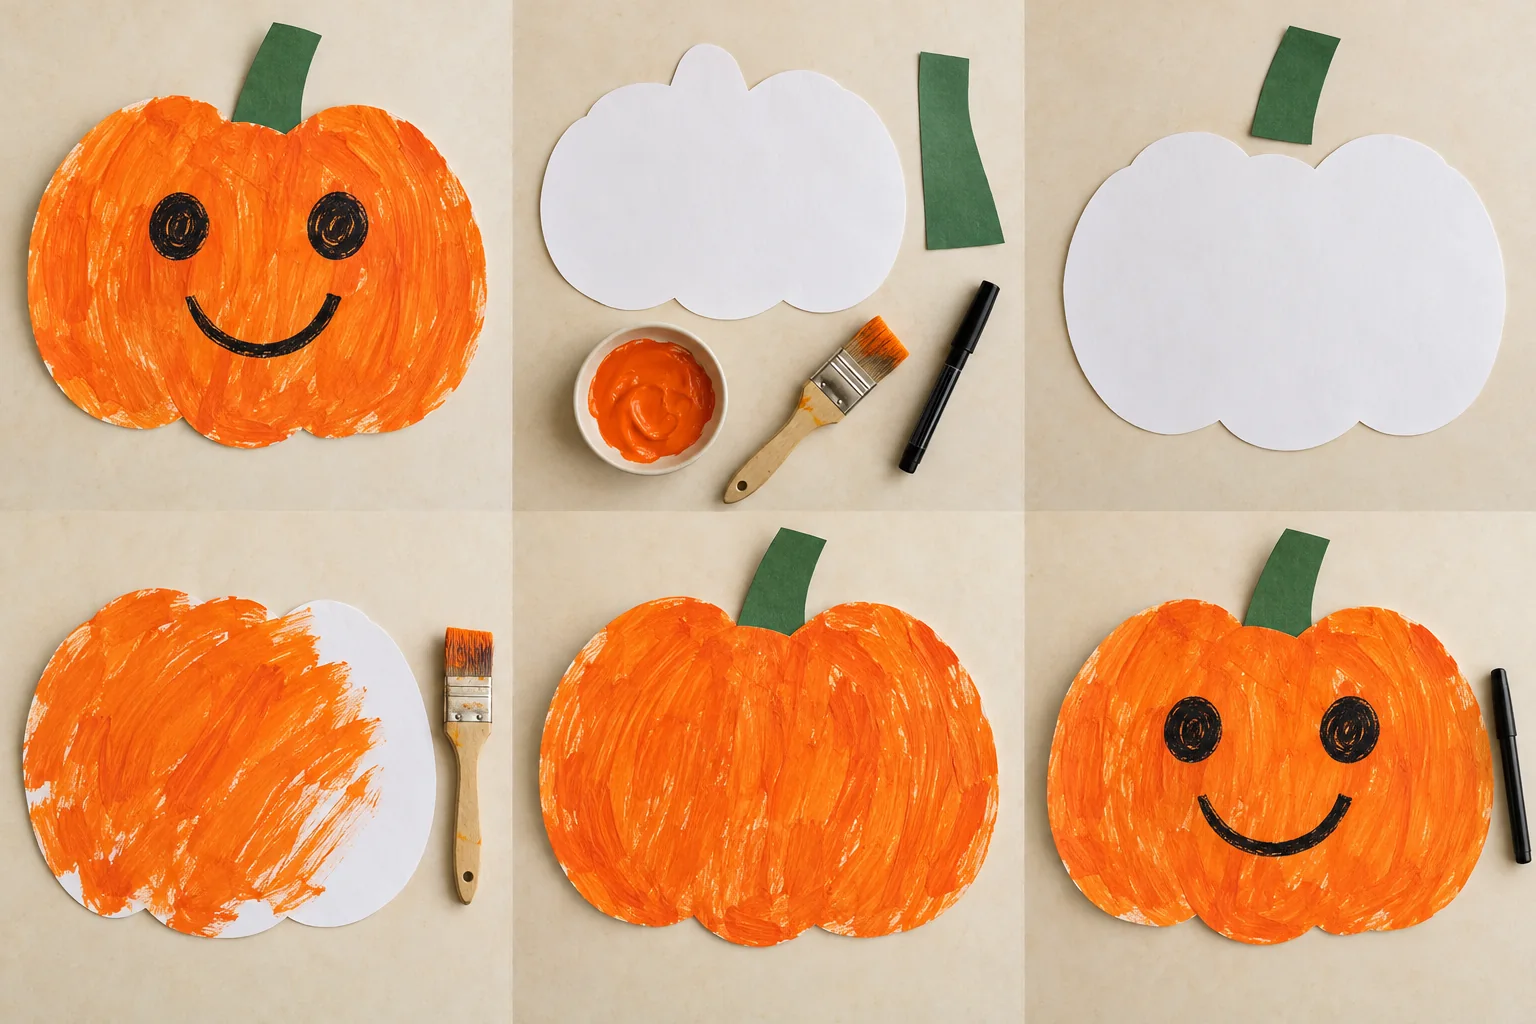
Let a toddler explore orange paint on a big paper pumpkin, then choose a friendly face together. There is no carving and no need to stay inside the lines.
25 min hands-on · 1–4 makers, each with an adult nearby Ages 2–4 with a hands-on adult throughout