Good days start with one good idea.Make something. Play something. ↗
fun things
to do.
Find my fun ↗

HALLOWEEN · SUPER SCARY DECOR · TEENS & ADULTS

Haunted silhouette portrait gallery

Turn cereal-box cardboard and paper silhouettes into three unsettling portraits for a haunted hallway or party backdrop.

55 min hands-on1–4 makersAges 13+; adult handles difficult cardboard cutsEasy4 illustrated steps ↓

Save three cereal boxes or one large box. Allow 15 minutes for glued layers to set before hanging.
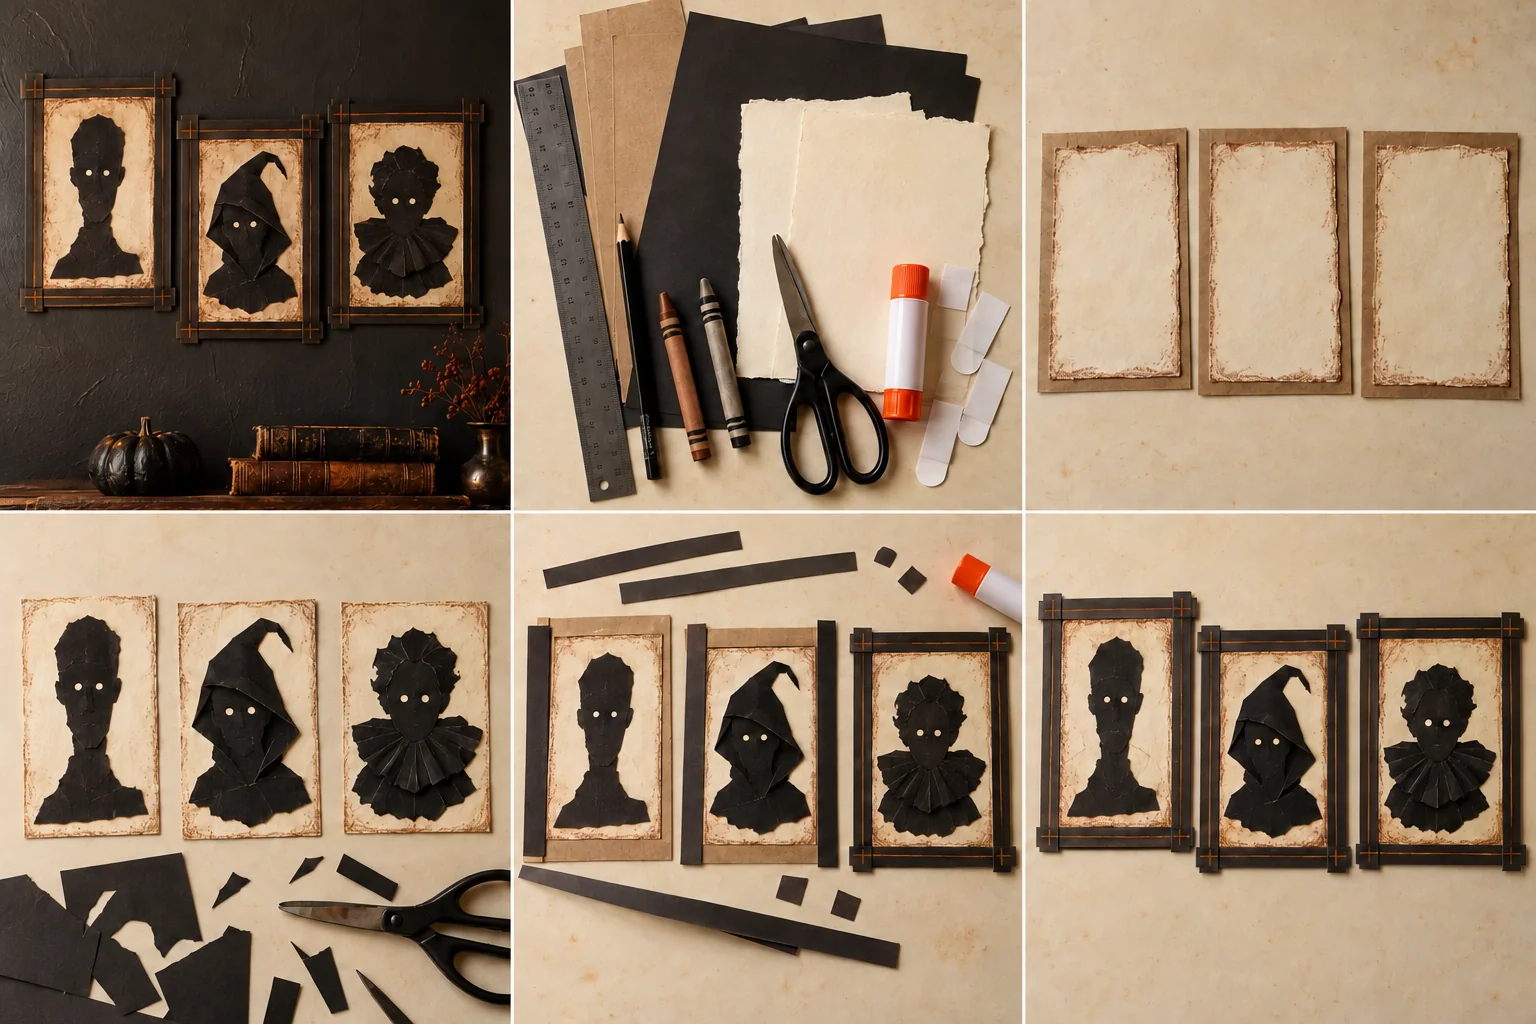
Three handmade haunted portraits showing strange black silhouettes on aged cream paper in simple dark cardboard frames.
One way your finished project could look.

A LITTLE INSPIRATION

See it. Make it.
Make it yours.

Start with this finished example, then follow the four illustrated steps below. Choose the colors and details that feel like you.

Project and step images are AI-generated illustrations. About our images

Let’s make it.

  1. Three cream paper backgrounds with torn brown-shaded edges glued onto cardboard rectangles.

    Step 1

    Cut three cardboard rectangles about 8 × 10 inches. Cut three smaller cream-paper rectangles, gently tear their edges and shade around the edges with brown crayon. Glue each cream sheet onto a cardboard backing.

  2. Cut black silhouettes with tiny pale eyes glued onto the cream portrait backgrounds.

    Step 2

    Draw three deliberately strange bust silhouettes on black paper: a tall narrow head, a crooked hood and a figure with an oversized collar. Cut them out; use pale paper scraps for two tiny eyes on each face, then glue the figures onto the cream backgrounds. For extra texture, lightly crumple the silhouettes before flattening them, and fold a small scrap back and forth to make the collar.

  3. Dark cardboard strips overlapping around the portraits to make simple rectangular frames.

    Step 3

    Cut four 1-inch-wide cardboard strips for each frame and darken them with black or brown crayon. Glue the strips around the portrait edges, overlapping the corners. Add short gold-brown marker lines to suggest an old frame rather than trying to build ornate molding.

  4. Finished portraits with faint drawn cracks and shaded corners grouped for display.

    Step 4

    Smudge a little black crayon near the portrait corners and add faint pencil cracks to the paper backgrounds. Let the glue set flat, then group the three portraits at slightly different heights using suitable removable tabs. Keep the display well lit enough to see the handmade details.

A little help: Use original imaginary characters. Keep decorations away from switches, exit signs and walking routes; avoid glass frames and dangling decorations.

KEEP THE GOOD TIME GOING

What shall we try next?

MAKE IT · Friendly monsters

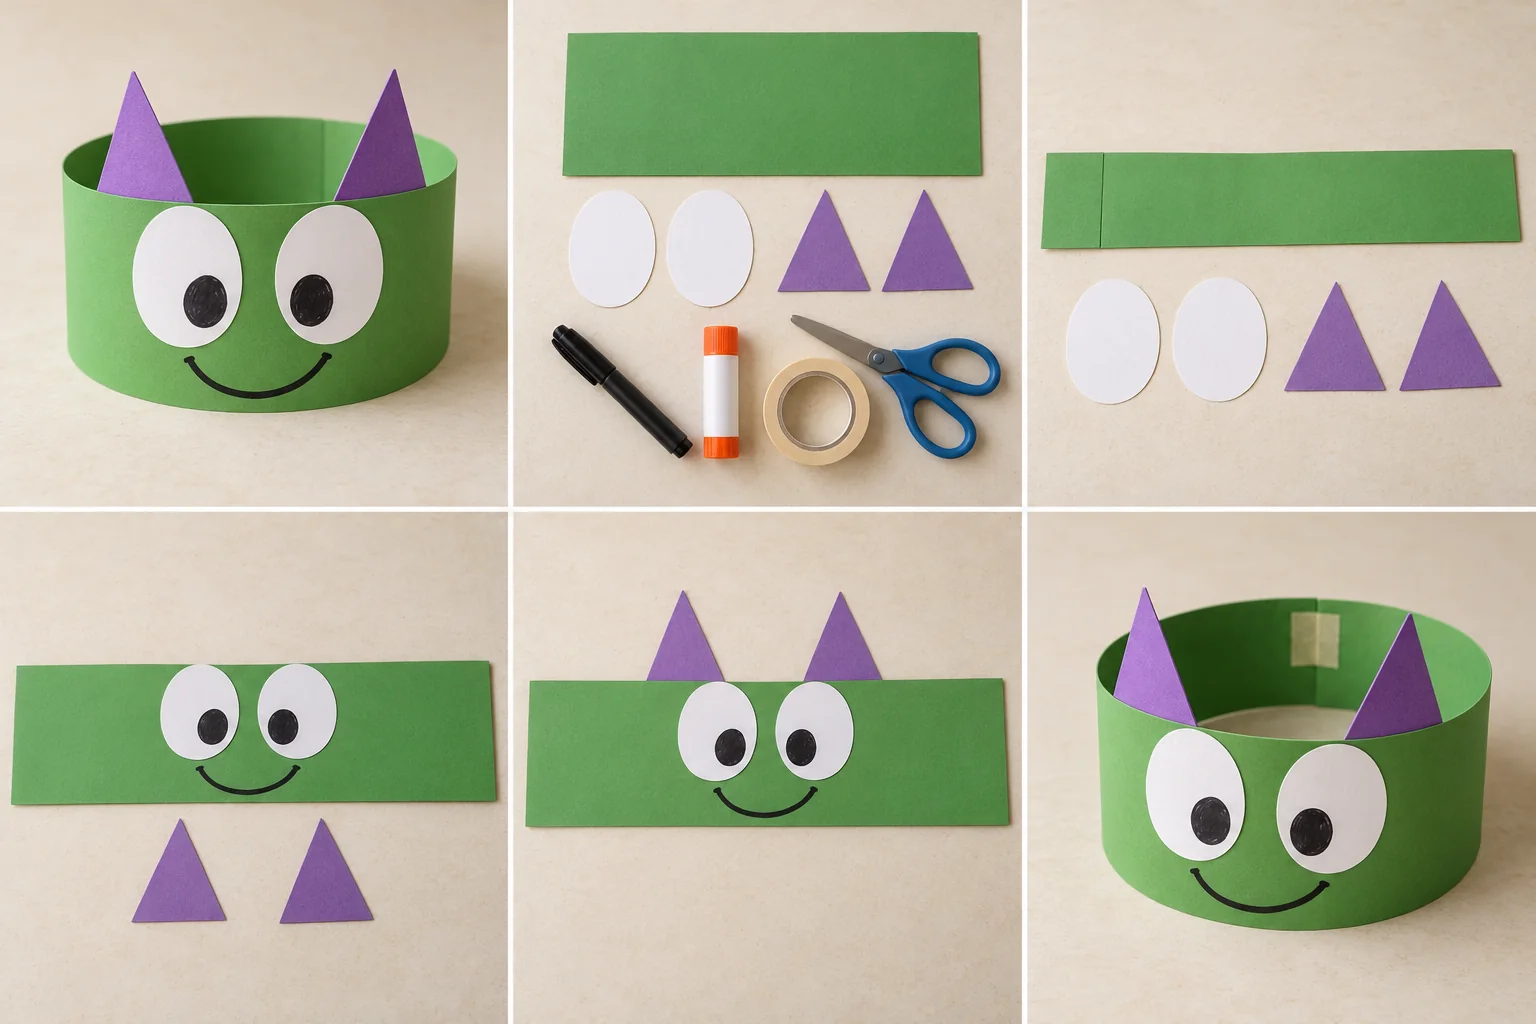
Monster parade paper crown

Make a friendly green monster crown with enormous paper eyes, purple horns, and a grin your child designs. Then invent a silly monster walk for a living-room parade.

25 min hands-on · 1 or more makers
Ages 3–4 with a grown-up; older children can make their own

Supplies & steps ↗
MAKE IT · Witches & wizards

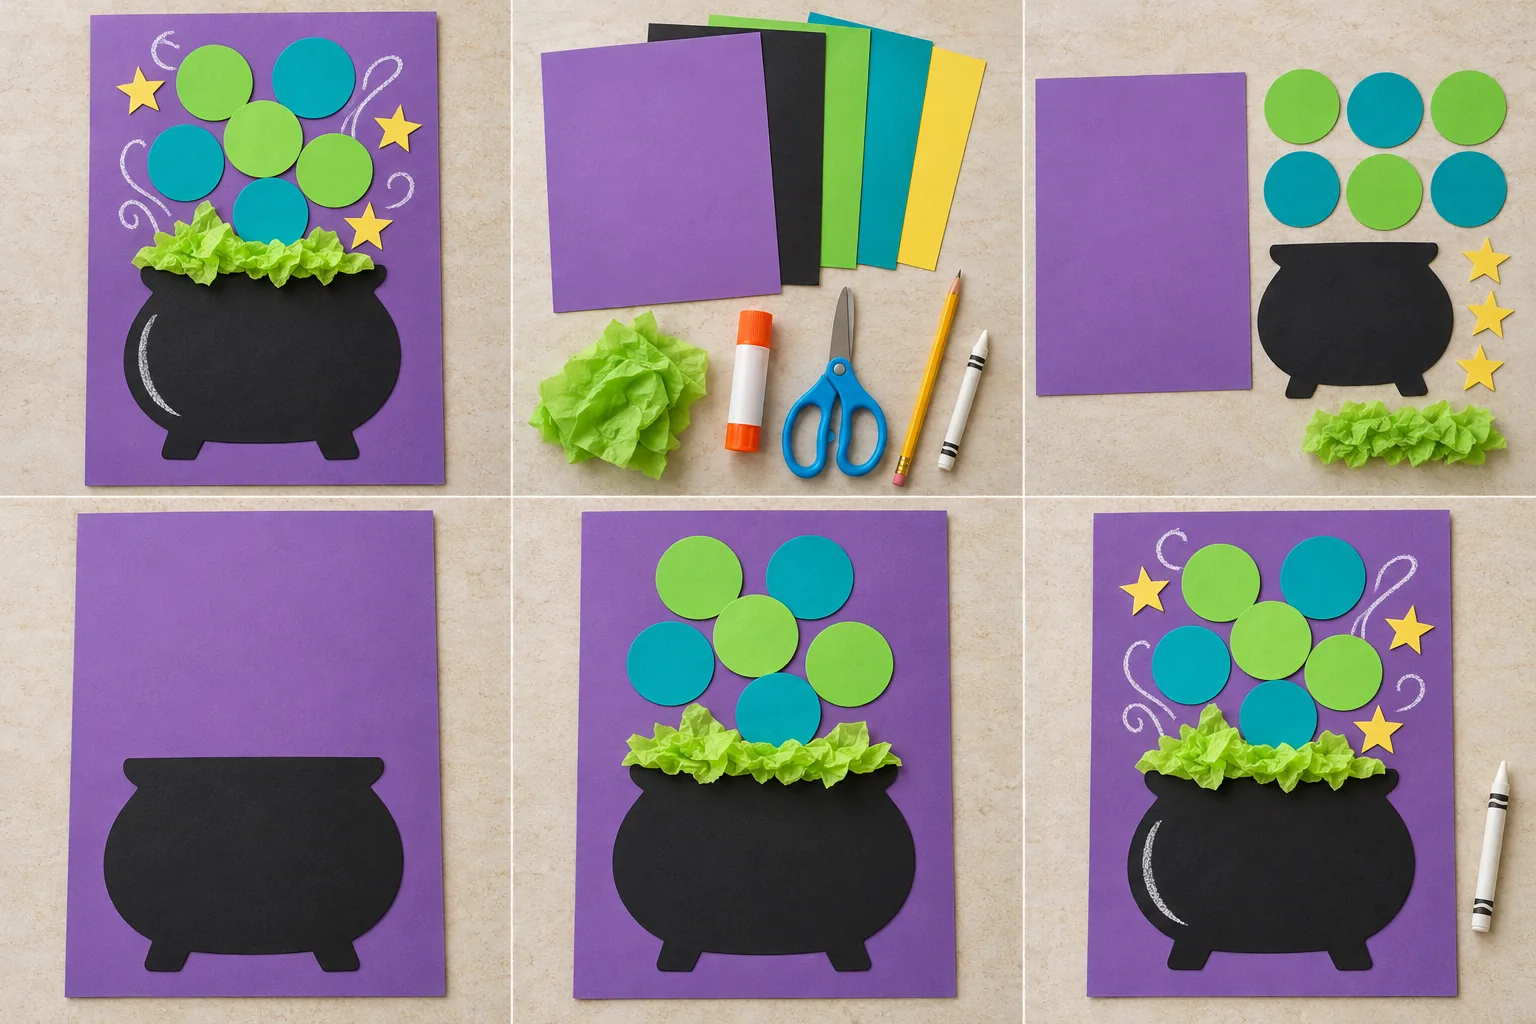
Paper cauldron bubble collage

Fill a paper cauldron with pretend fizzy bubbles, crinkled tissue, and little yellow stars. Everything stays on the page: a colorful witches-and-wizards project with no mixing or heat.

35 min hands-on · 1 or more makers
Ages 6+ with a grown-up nearby

Supplies & steps ↗
MAKE IT · Halloween

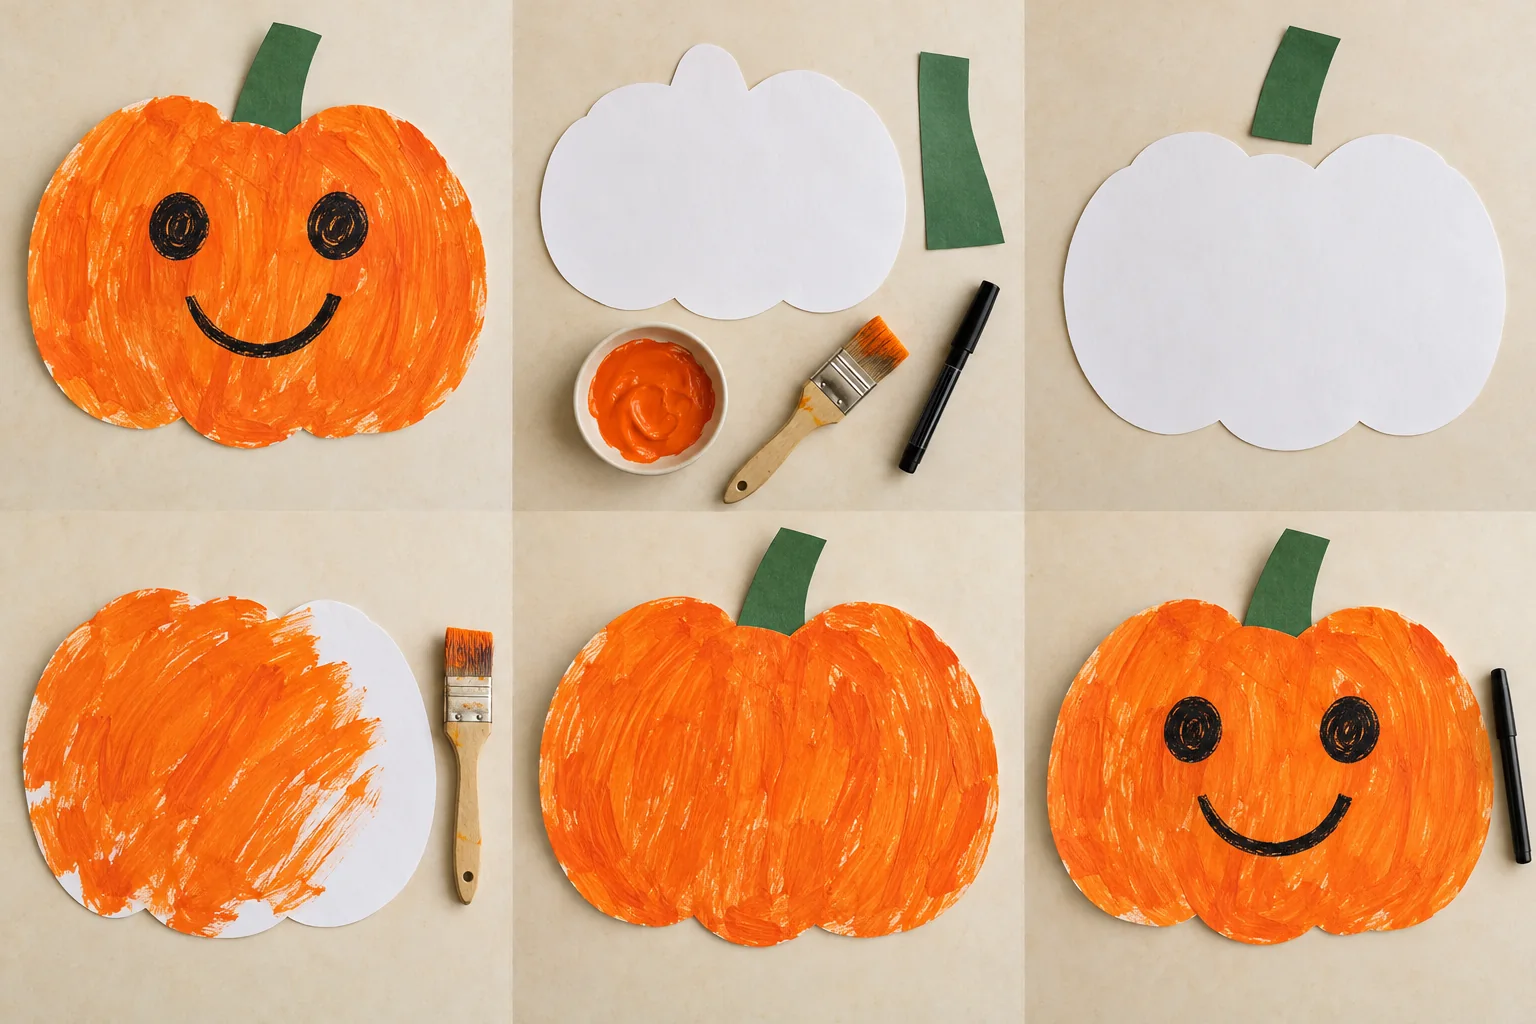
A happy painted pumpkin for little hands

Let a toddler explore orange paint on a big paper pumpkin, then choose a friendly face together. There is no carving and no need to stay inside the lines.

25 min hands-on · 1–4 makers, each with an adult nearby
Ages 2–4 with a hands-on adult throughout

Supplies & steps ↗

More Halloween crafts, recipes & ideas ↗