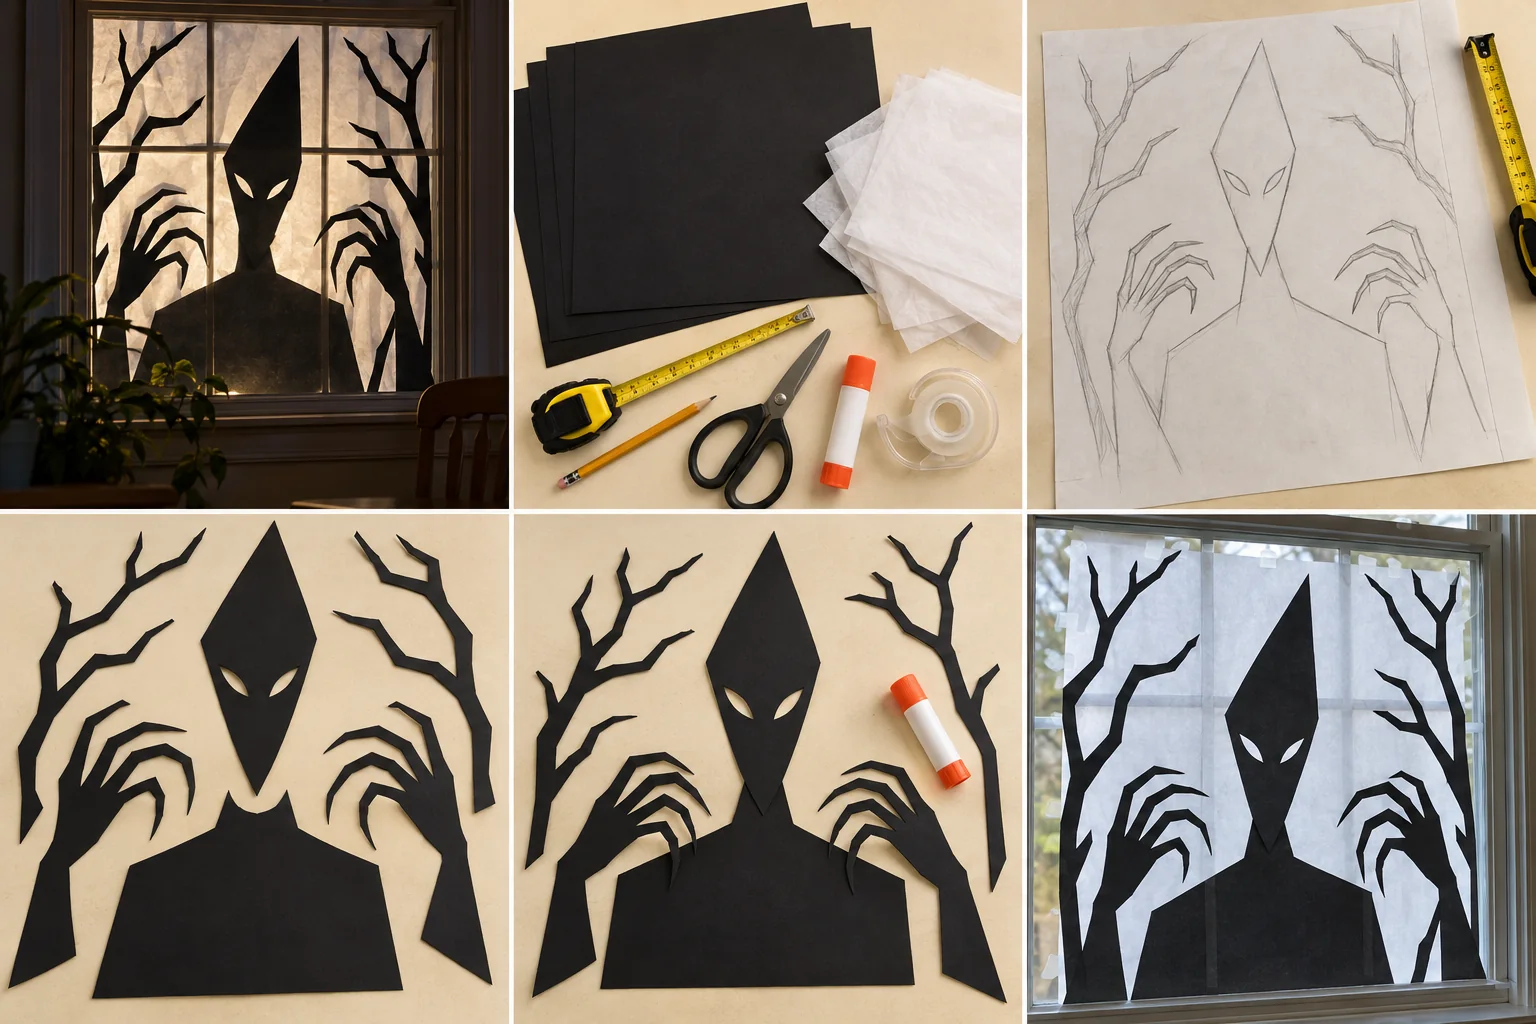
Measure the part of the window you plan to decorate. On scrap paper, sketch one large angular head, a narrow shoulder shape, two long hands and crooked branches; keep the shapes simple enough to cut with scissors.
Draw the shapes on black poster paper and cut them out. Join smaller sheets on the back with tape when you need a longer branch or arm. Cut two narrow eye openings in the head; an adult starts these internal cuts.
Lay the pieces on a table in their final arrangement. Use a glue stick to join the head and shoulders, then add the long hands and branches. Let glued joins set before lifting the sections.
An adult tests removable tape on an inconspicuous spot, then attaches the silhouettes to the inside of an accessible window. If needed, add a loose white-tissue backdrop behind the shapes to soften ordinary room light. Check the scene from outside after dark and adjust the spacing.
A little help: Keep the scene on a fixed, accessible pane; do not block doors, emergency exits or window opening hardware. Use ordinary room light, with paper well clear of lamps and heaters; no candles, strobes or dangling cords.
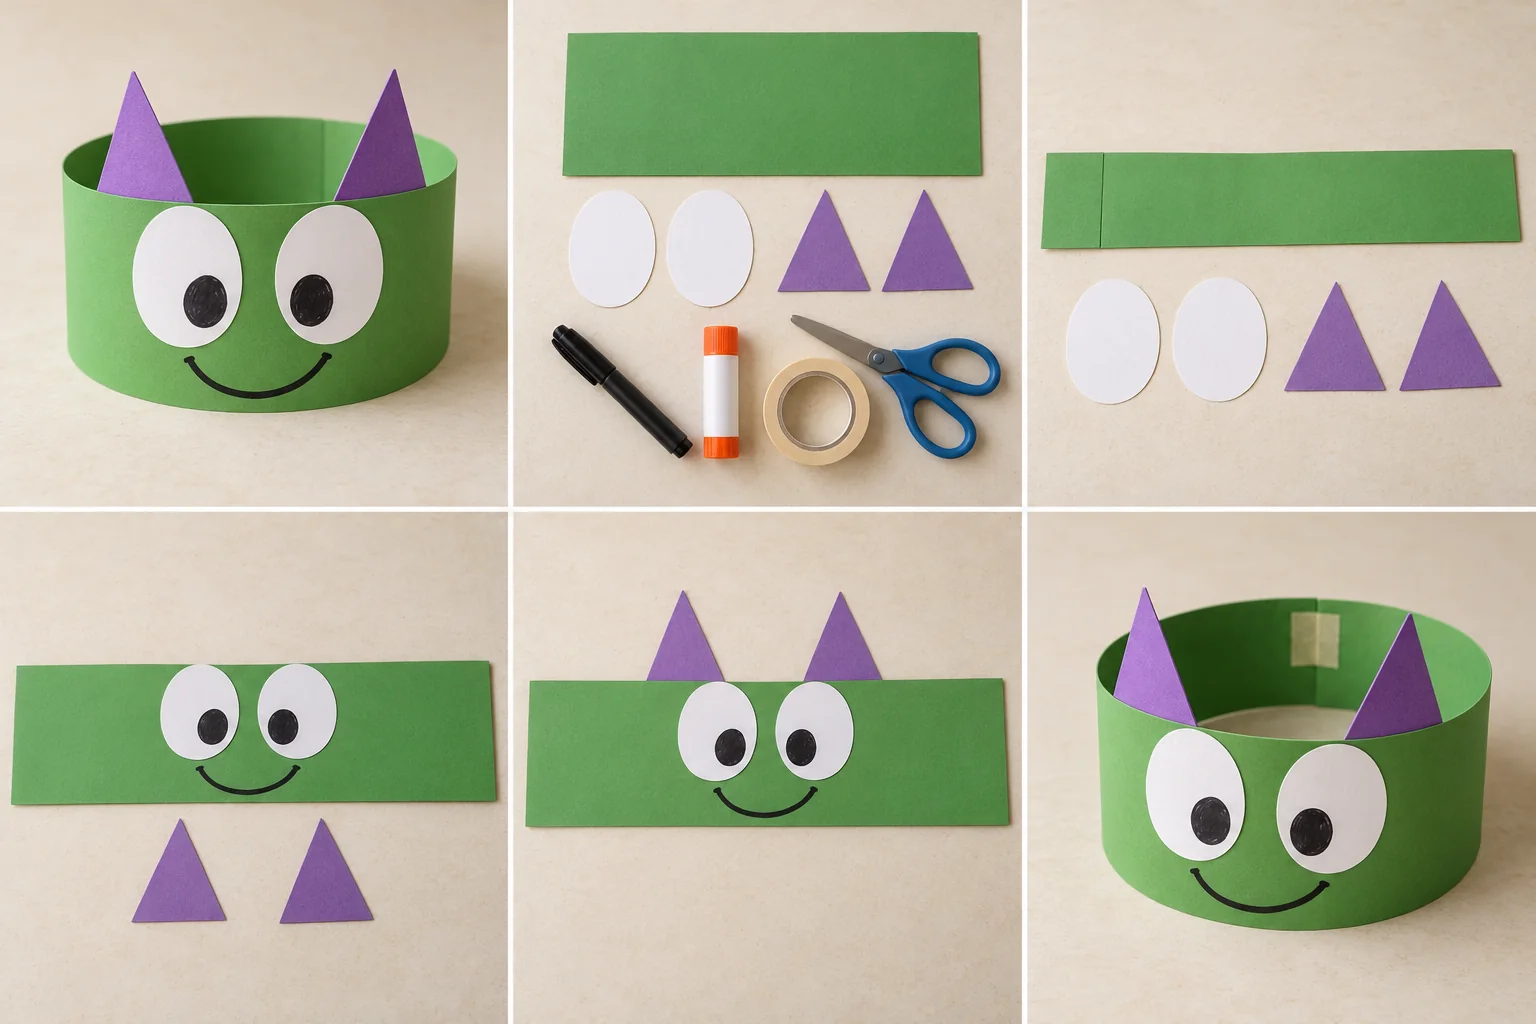
Make a friendly green monster crown with enormous paper eyes, purple horns, and a grin your child designs. Then invent a silly monster walk for a living-room parade.
25 min hands-on · 1 or more makers Ages 3–4 with a grown-up; older children can make their own
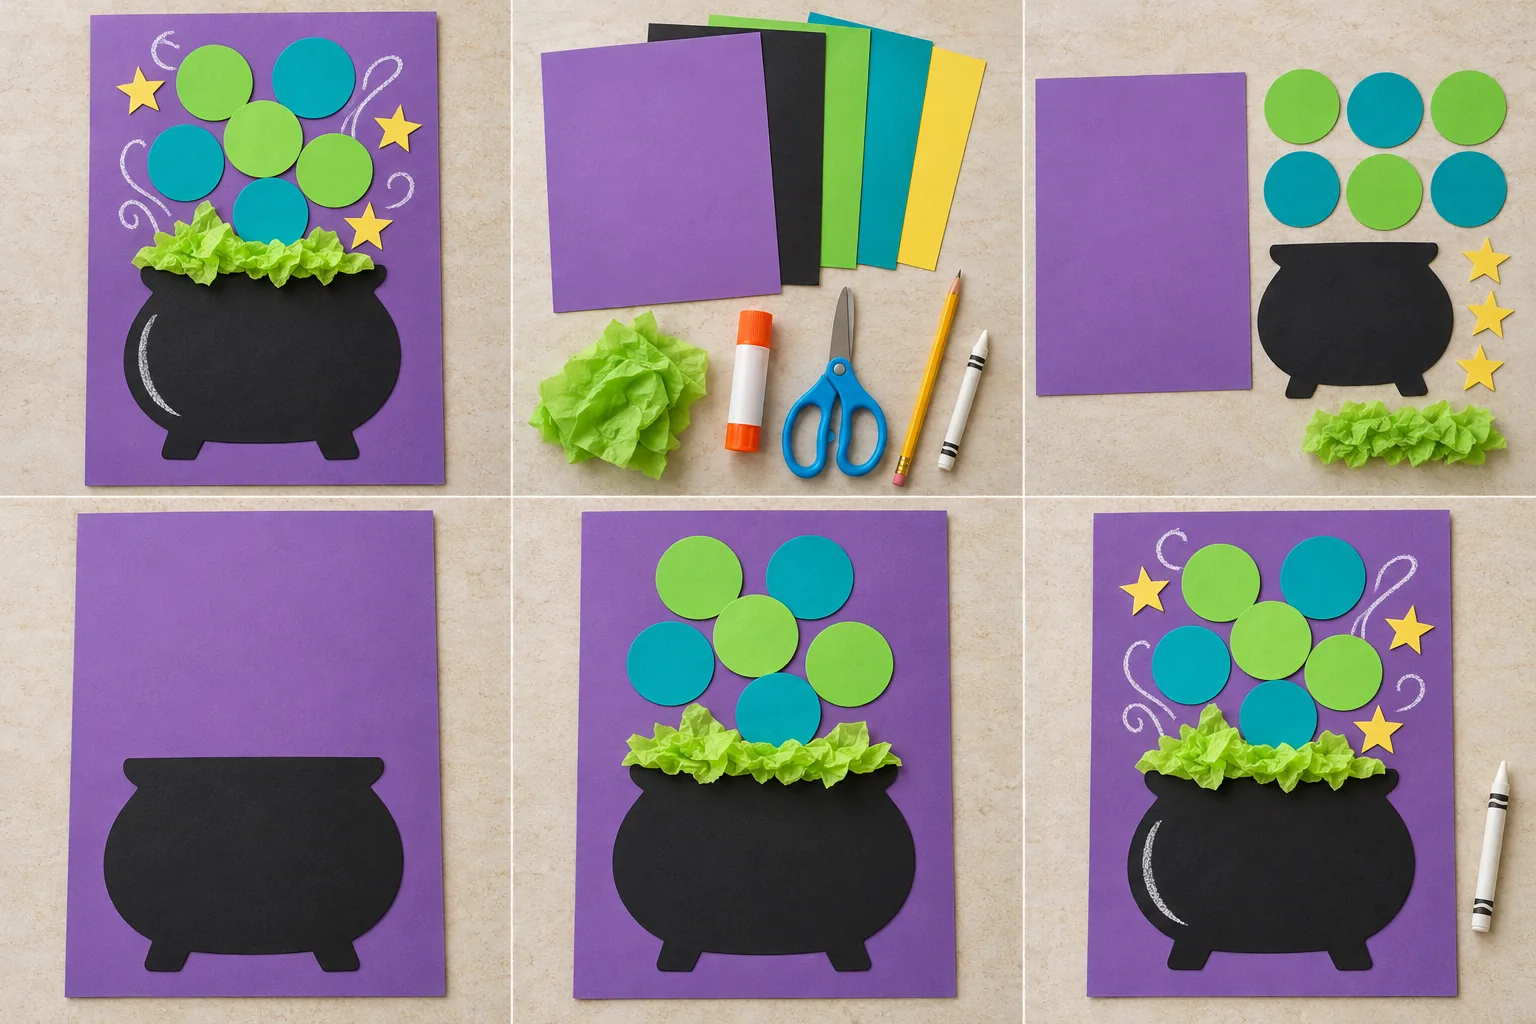
Fill a paper cauldron with pretend fizzy bubbles, crinkled tissue, and little yellow stars. Everything stays on the page: a colorful witches-and-wizards project with no mixing or heat.
35 min hands-on · 1 or more makers Ages 6+ with a grown-up nearby
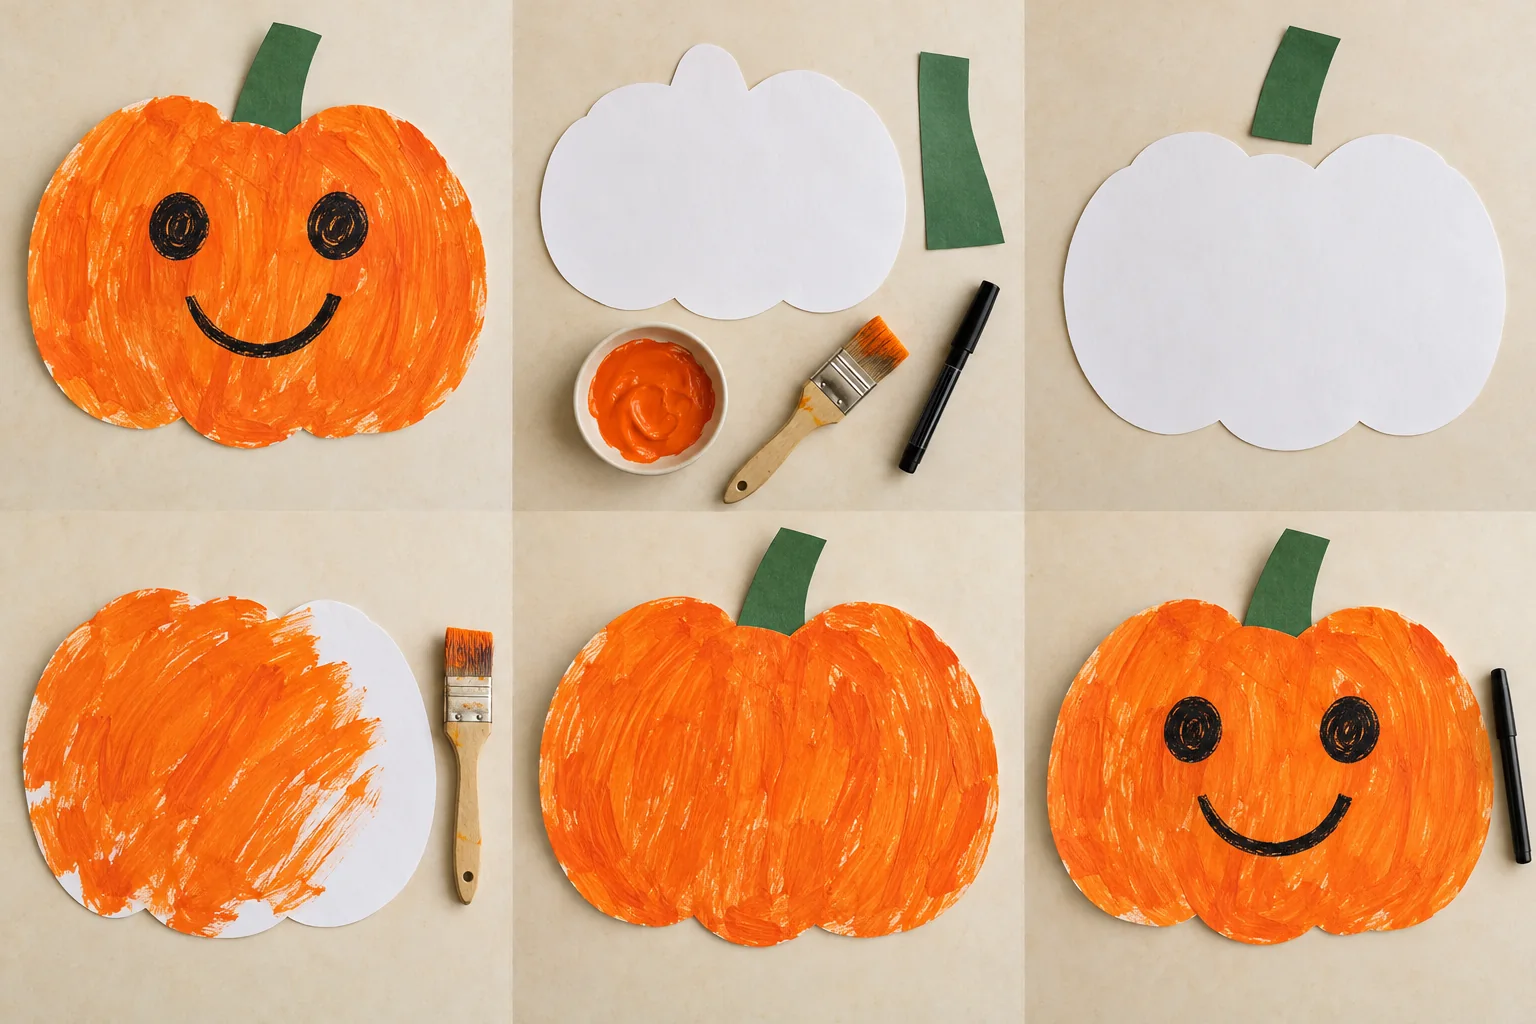
Let a toddler explore orange paint on a big paper pumpkin, then choose a friendly face together. There is no carving and no need to stay inside the lines.
25 min hands-on · 1–4 makers, each with an adult nearby Ages 2–4 with a hands-on adult throughout