Good days start with one good idea.Make something. Play something. ↗
fun things
to do.
Find my fun ↗

HALLOWEEN · MAKE SOMETHING WORTH REMEMBERING

A paper-plate yarn web

Lace white yarn across a paper-plate frame and finish with a friendly spider drawn on a small card at the rim.

40 min hands-on1–6 makersAges 6–10 with adult help for cutting and hole punchingEasy4 illustrated steps ↓

Allow 10 minutes of adult frame preparation. Paint needs drying time; choose markers to avoid that wait.
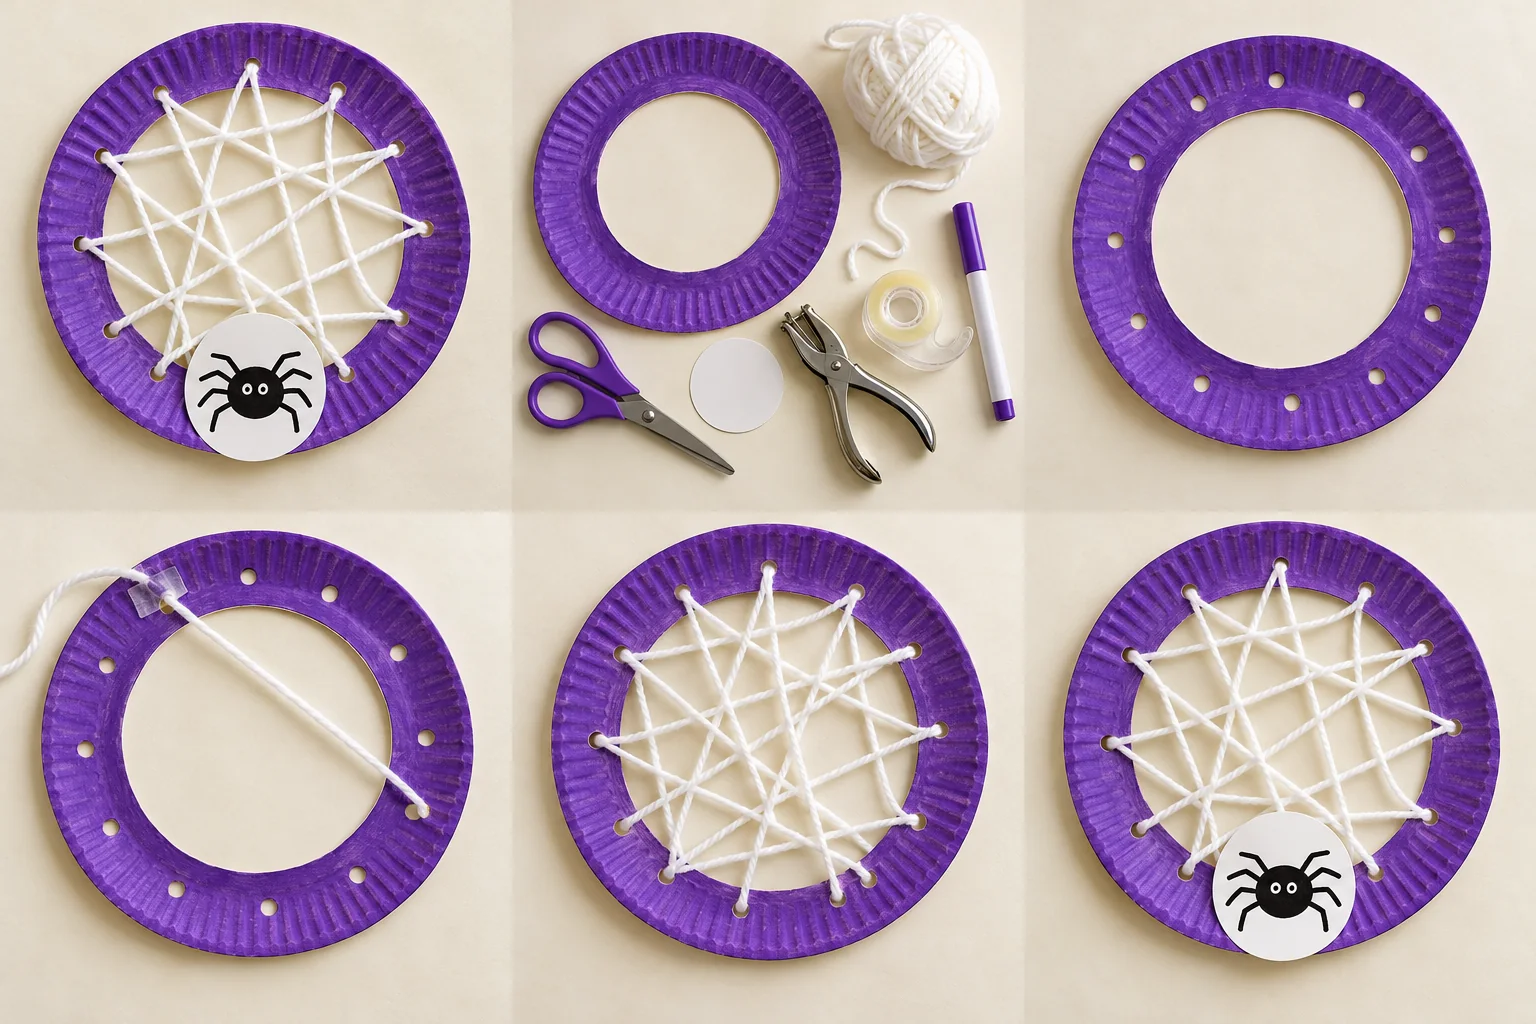
A purple paper-plate ring filled with crisscrossed white yarn and a drawn eight-legged spider card on the lower rim.
One way your finished project could look.

A LITTLE INSPIRATION

See it. Make it.
Make it yours.

Start with this finished example, then follow the four illustrated steps below. Choose the colors and details that feel like you.

Project and step images are AI-generated illustrations. About our images

Let’s make it.

  1. A purple paper-plate ring with a wide rim and evenly spaced holes around its edge.

    Step 1: Prepare the frame

    An adult cuts the center out of a paper plate, leaving a rim at least 1½ inches wide. Color the rim purple and let it dry. An adult helps punch 10–12 evenly spaced holes around the rim, well back from the cut edge.

  2. One end of white yarn taped to the back edge of the plate and its free end threaded through a single hole.

    Step 2: Anchor the yarn

    Cut one length of white yarn about 2 yards long. Tape one end to the back of the rim and push the other end through a hole toward the front. Wrap that loose tip with a little tape to make threading easier.

  3. White yarn crisscrossing the opening between holes around the purple plate frame.

    Step 3: Weave a web

    Thread the yarn across the opening to a hole on the other side, then back across to a different hole. Continue crisscrossing until you like the web. Keep the yarn gently taut; tape the remaining end to the back.

  4. The completed yarn web with a white circular card bearing a black drawn spider on the lower rim.

    Step 4: Add a spider

    Draw a spider with eight legs on a 2-inch white cardstock circle. Tape the card onto the lower rim so the legs are clearly visible. Display the plate flat or secure its rim directly to the wall with removable adhesive.

A little help: An adult handles cutting the plate center. Keep loose yarn away from younger children and pets; do not wear the web or add neck loops. Put scraps away when finished.

KEEP THE GOOD TIME GOING

What shall we try next?

MAKE IT · Friendly monsters

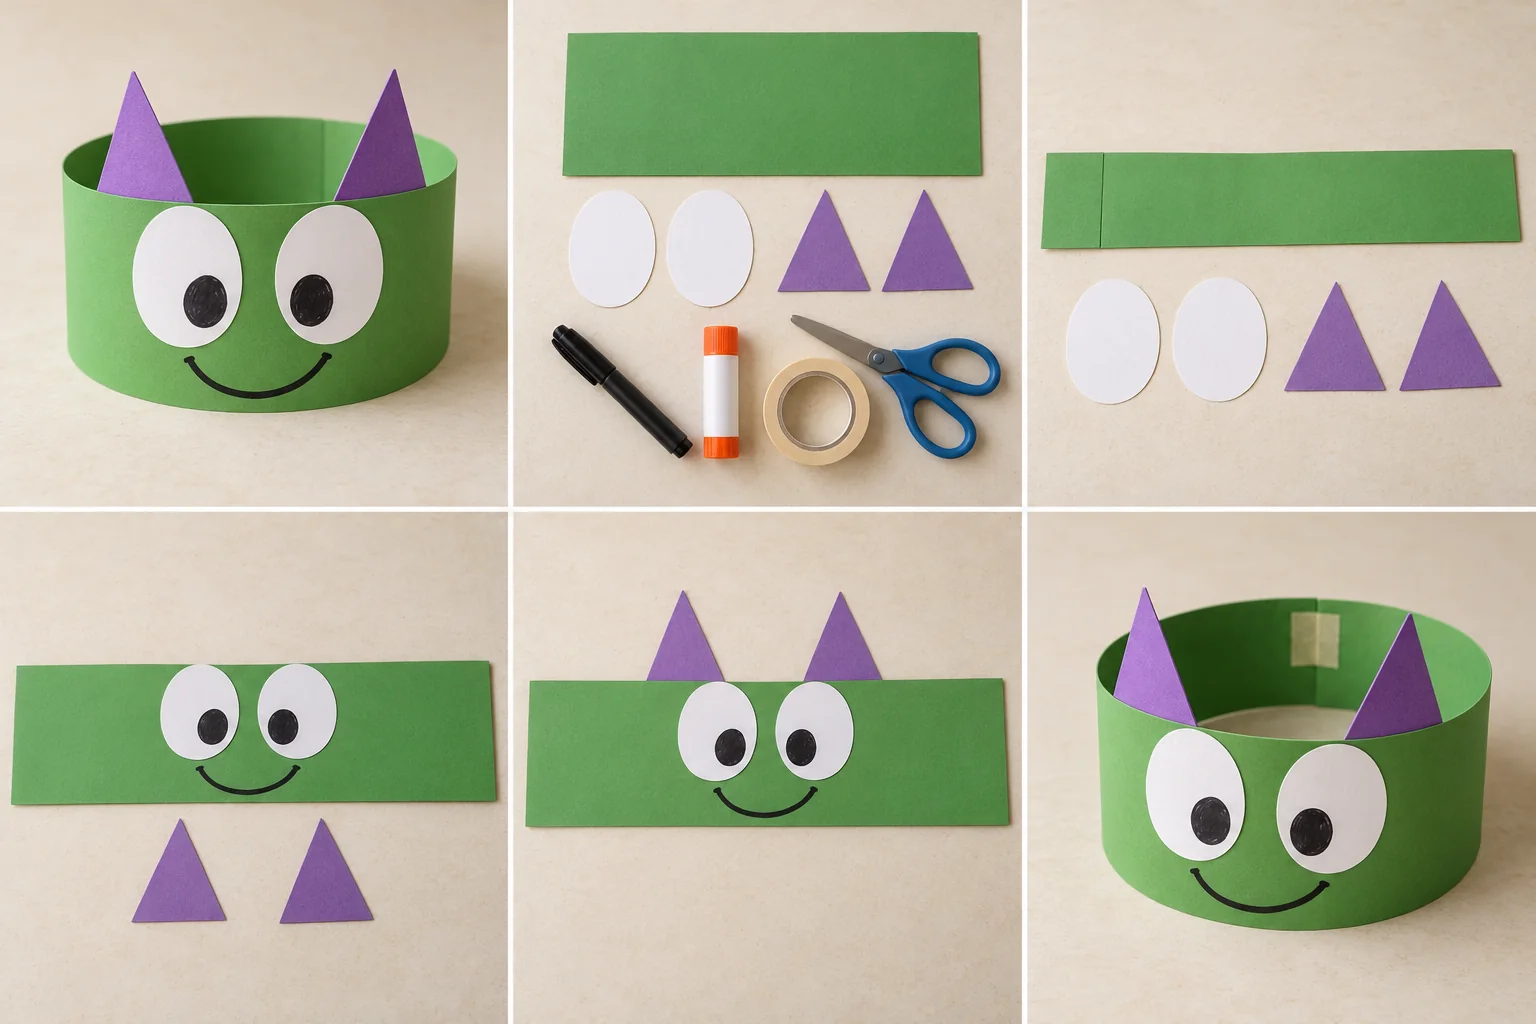
Monster parade paper crown

Make a friendly green monster crown with enormous paper eyes, purple horns, and a grin your child designs. Then invent a silly monster walk for a living-room parade.

25 min hands-on · 1 or more makers
Ages 3–4 with a grown-up; older children can make their own

Supplies & steps ↗
MAKE IT · Witches & wizards

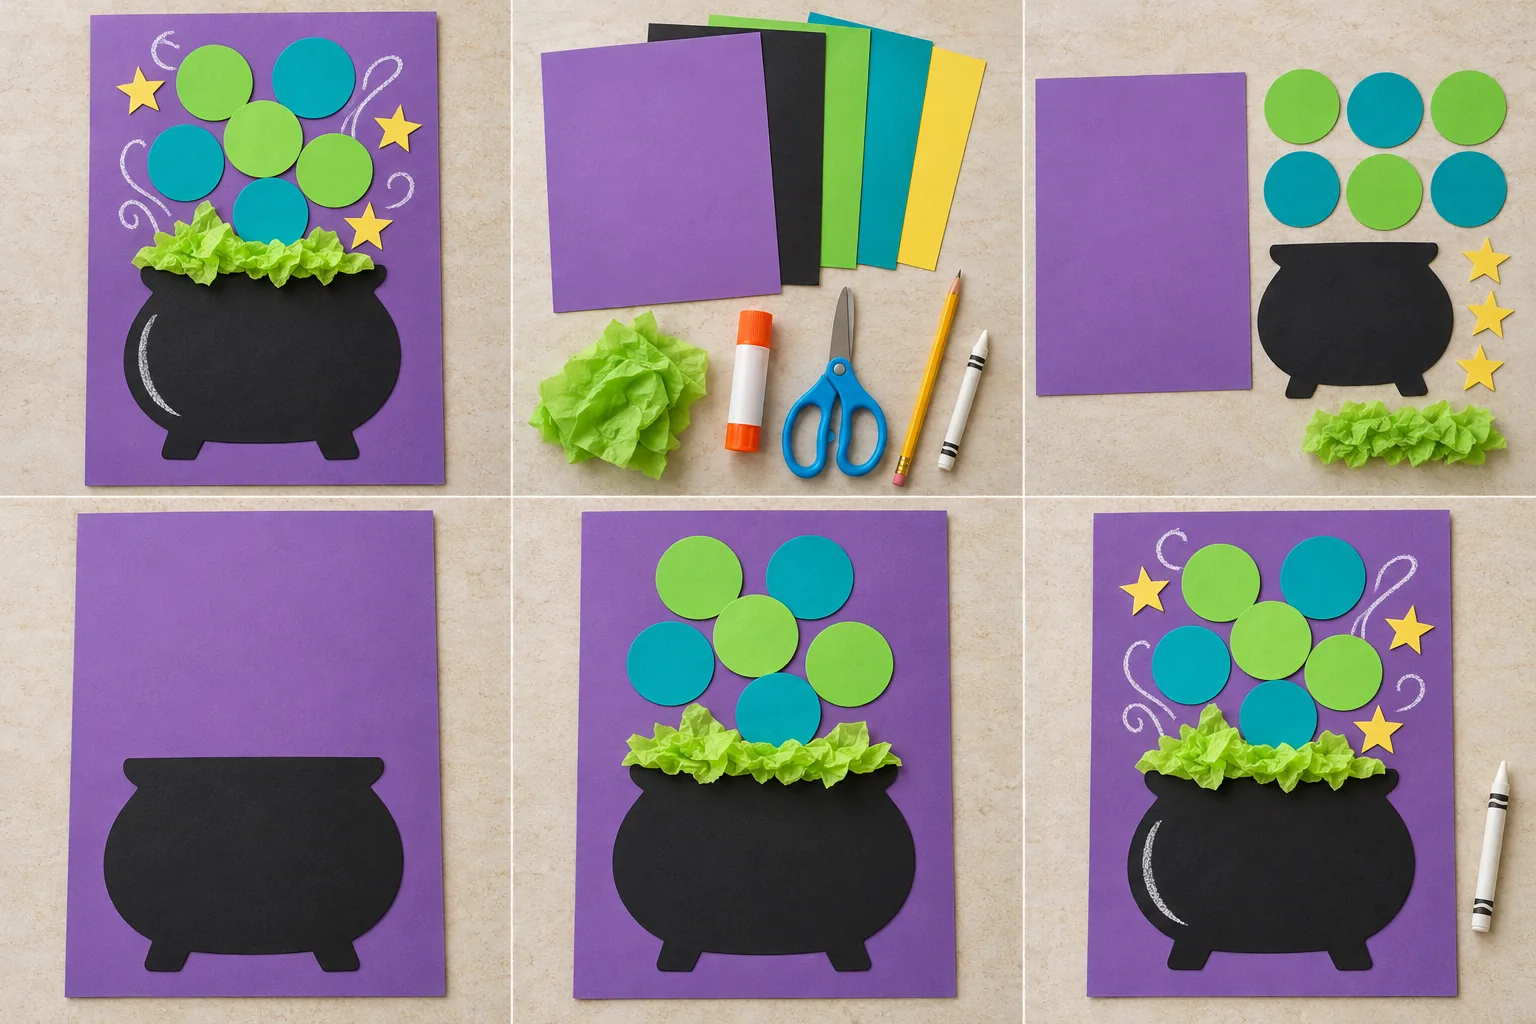
Paper cauldron bubble collage

Fill a paper cauldron with pretend fizzy bubbles, crinkled tissue, and little yellow stars. Everything stays on the page: a colorful witches-and-wizards project with no mixing or heat.

35 min hands-on · 1 or more makers
Ages 6+ with a grown-up nearby

Supplies & steps ↗
MAKE IT · Halloween

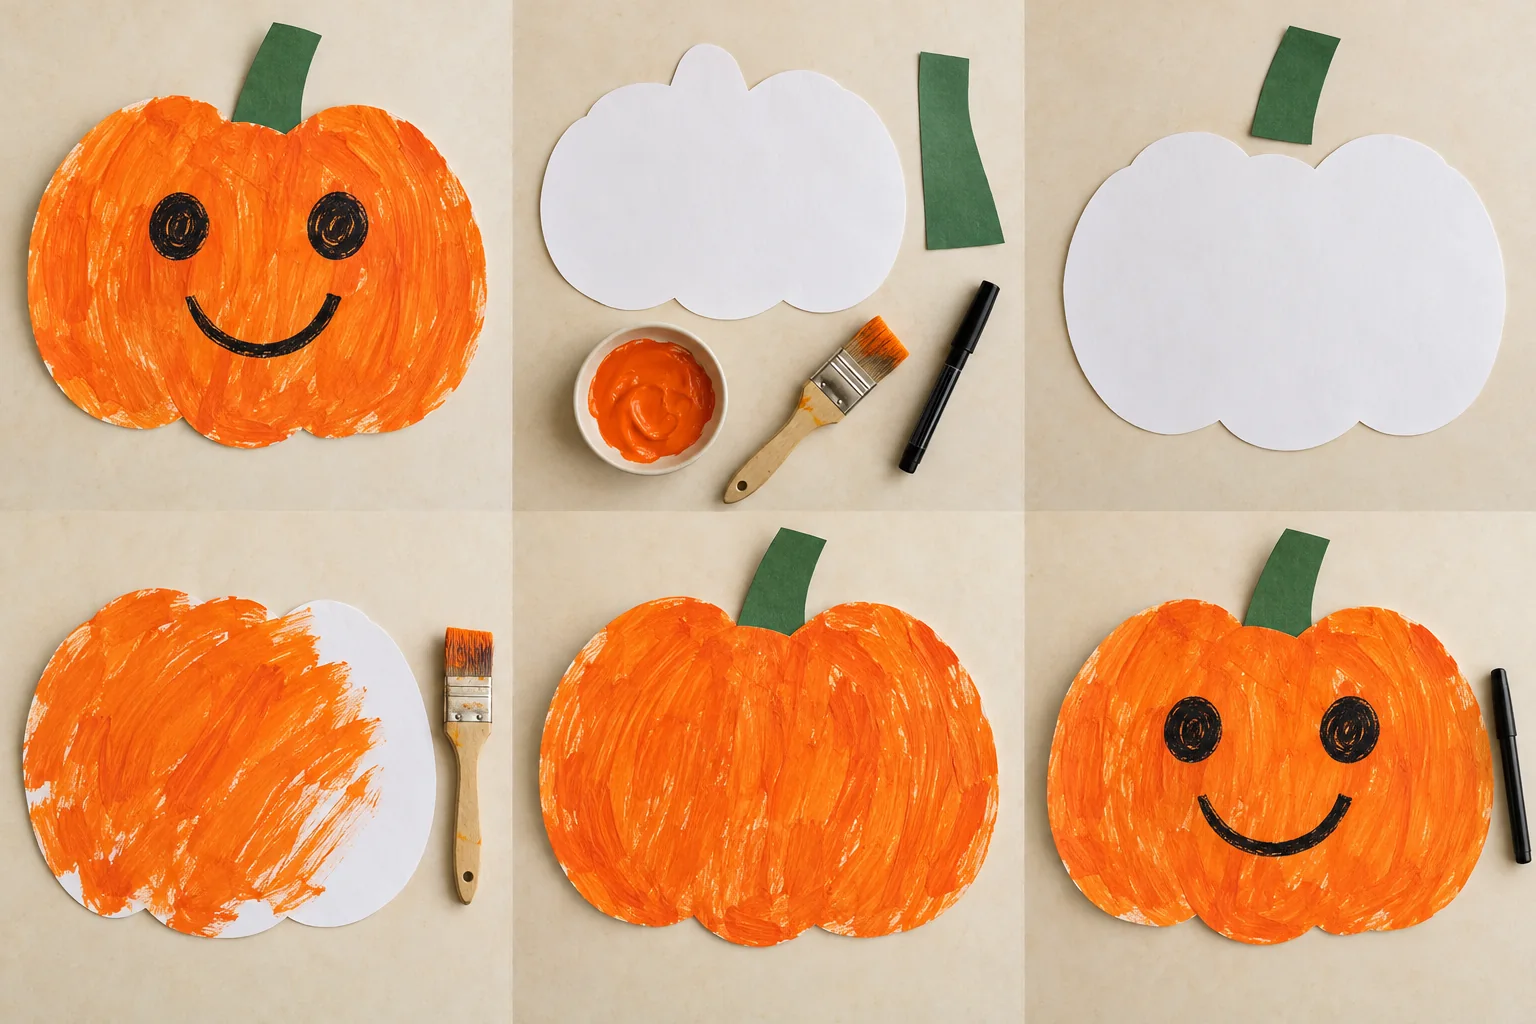
A happy painted pumpkin for little hands

Let a toddler explore orange paint on a big paper pumpkin, then choose a friendly face together. There is no carving and no need to stay inside the lines.

25 min hands-on · 1–4 makers, each with an adult nearby
Ages 2–4 with a hands-on adult throughout

Supplies & steps ↗

More Halloween crafts, recipes & ideas ↗