Good days start with one good idea.Make something. Play something. ↗
fun things
to do.
Find my fun ↗

HALLOWEEN · MAKE SOMETHING WORTH REMEMBERING

A friendly purple paper-bag monster

Turn a plain lunch bag into a cheerful monster puppet with purple paint, a big green hairpiece and a grown-up-drawn smile.

30 min hands-on1–4 makers, each with an adult nearbyAges 2–4 with a hands-on adult throughoutEasy4 illustrated steps ↓

Allow 5 minutes of adult cutting and roughly 30–60 minutes for the painted bag to dry fully before gluing or playing.

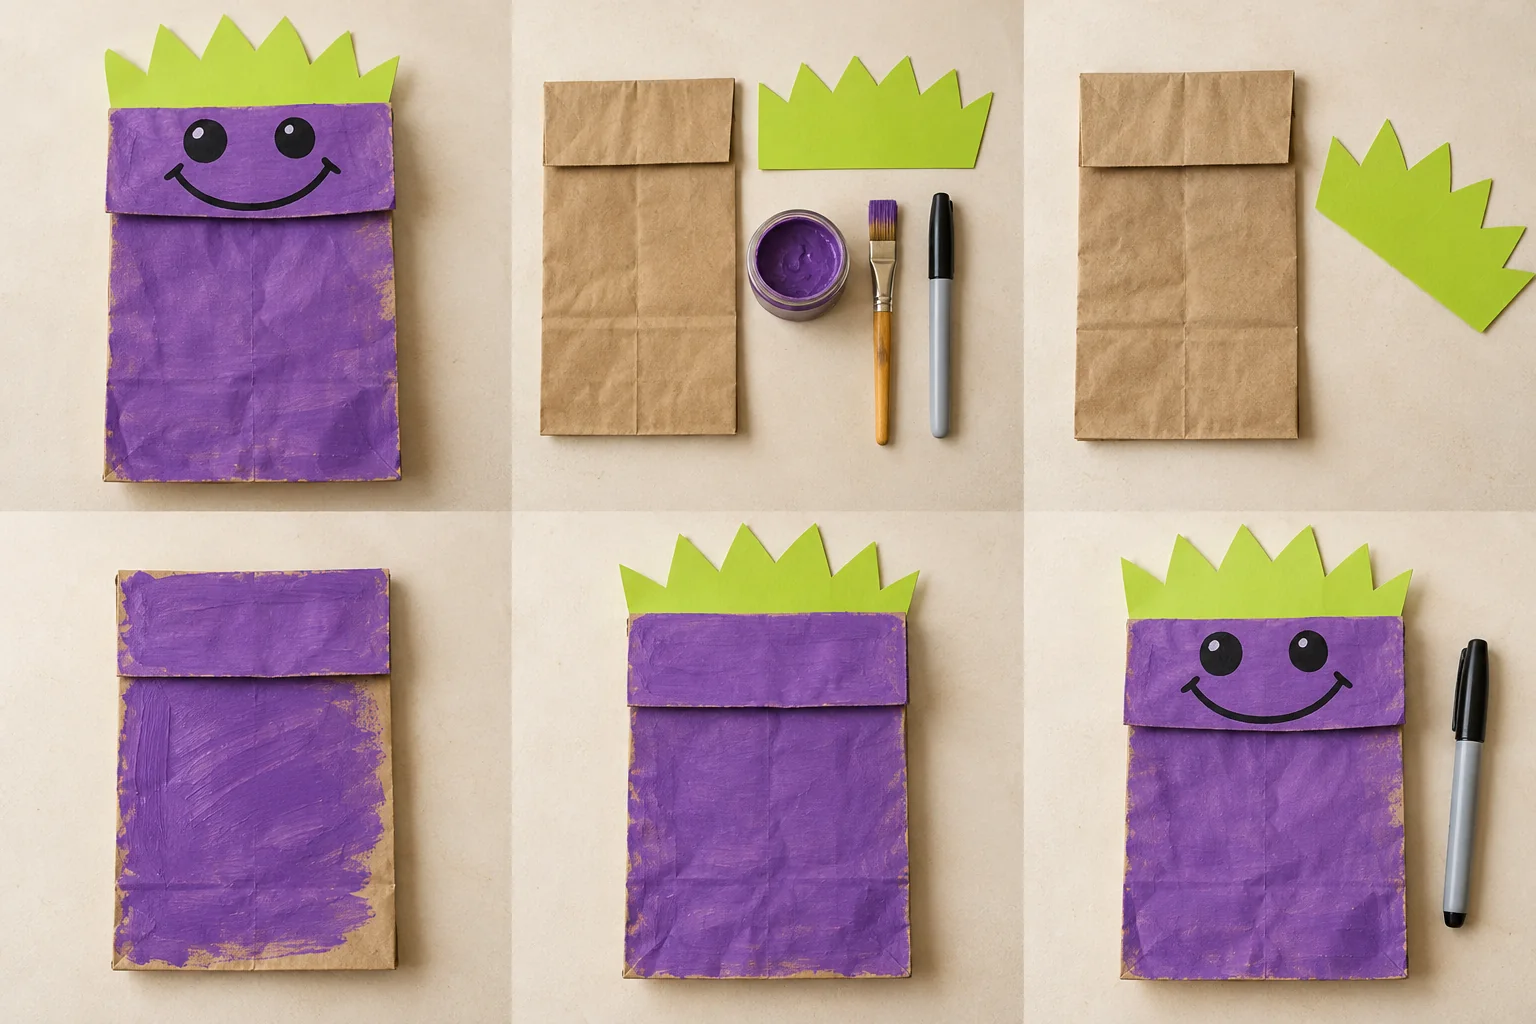
A flat purple paper-bag puppet with one large green zigzag hairpiece and a friendly drawn face.
One way your finished project could look.

A LITTLE INSPIRATION

See it. Make it.
Make it yours.

Start with this finished example, then follow the four illustrated steps below. Choose the colors and details that feel like you.

Project and step images are AI-generated illustrations. About our images

Let’s make it.

  1. A flat unpainted lunch bag with its bottom flap facing up beside one large green zigzag hairpiece.

    Step 1: Prepare the bag

    An adult cuts one broad green hairpiece with a zigzag upper edge, keeping it as a single large piece. Lay the paper bag flat with its folded bottom facing upward; that bottom flap will become the monster's face.

  2. The front and folded bottom flap of the paper bag partly painted purple.

    Step 2: Brush on purple

    Let the child brush purple paint over the upward-facing side and bottom flap. Use a light coat so the bag stays sturdy. An adult opens and closes the flap gently before the paint dries to keep it from sticking.

  3. A dry purple bag with one broad green hairpiece behind the face flap, before facial features are drawn.

    Step 3: Attach green hair

    Once the paint is completely dry, an adult adds glue to the straight lower edge of the hairpiece. Help the child press it behind the top of the face flap so the green points stick up like silly hair.

  4. The purple bag monster with two large black drawn eyes and a cheerful smile.

    Step 4: Draw and play

    Ask the child to choose a happy or sleepy expression. An adult draws two big eyes and a smile on the face flap. Slip a hand into the bag, gently move the flap and let the monster say hello in a quiet, silly voice.

A little help: Keep paint and glue out of mouths and supervise the whole activity. Use drawn features, not loose eyes or teeth. A paper bag is a hand puppet only; never place it over anyone's head.

KEEP THE GOOD TIME GOING

What shall we try next?

MAKE IT · Friendly monsters

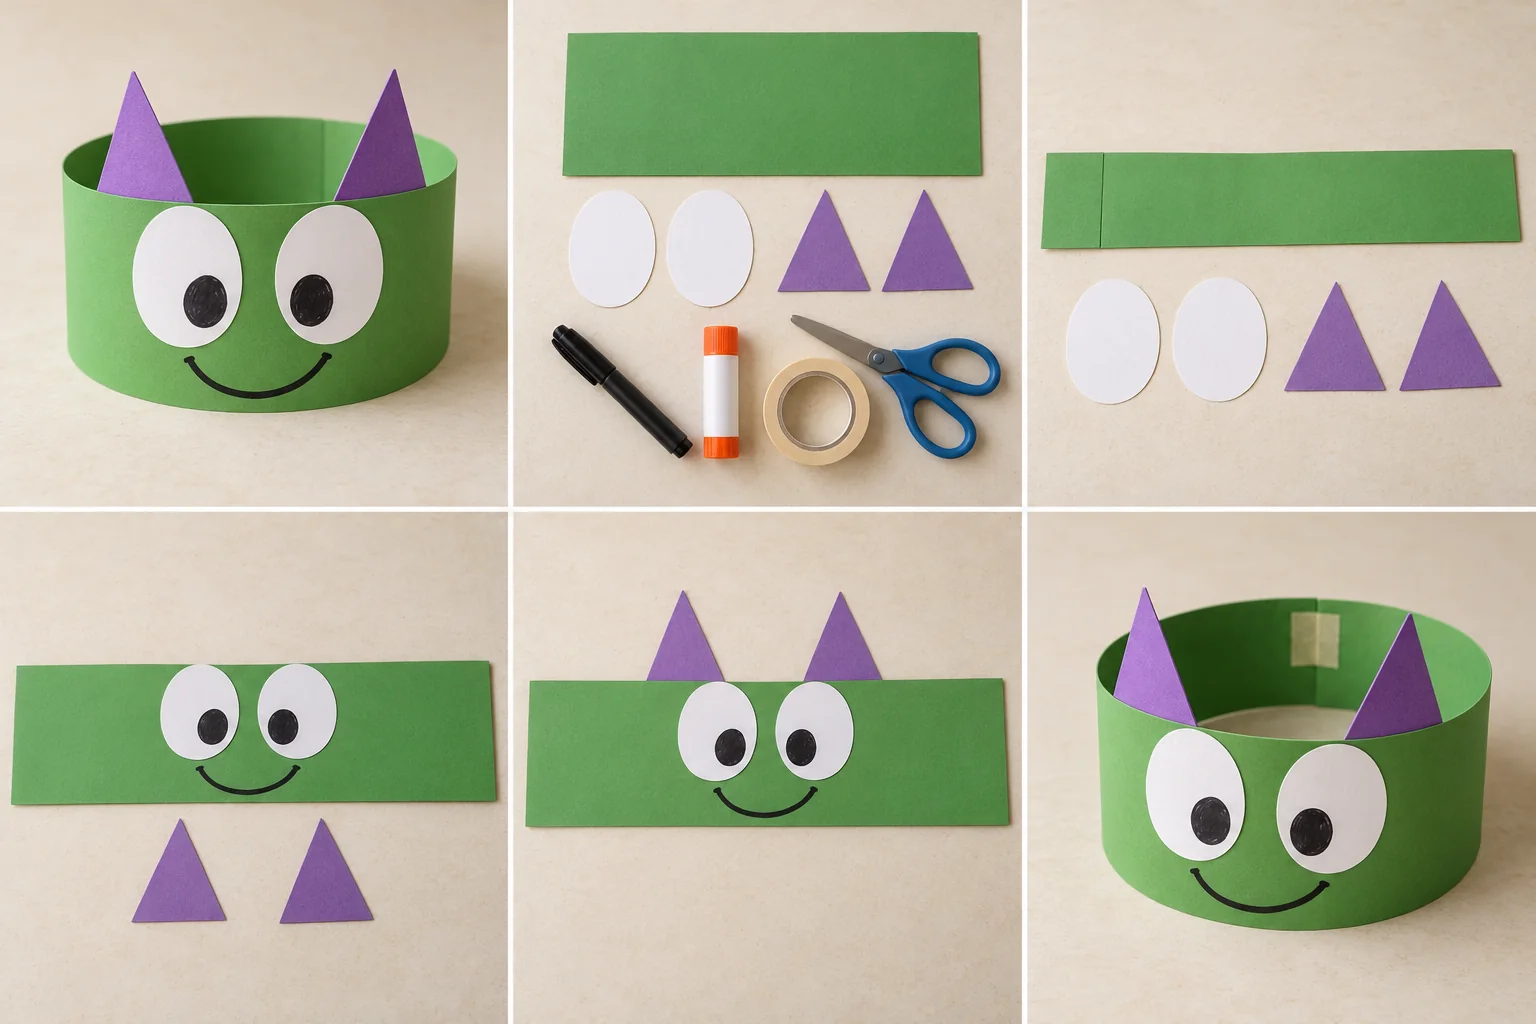
Monster parade paper crown

Make a friendly green monster crown with enormous paper eyes, purple horns, and a grin your child designs. Then invent a silly monster walk for a living-room parade.

25 min hands-on · 1 or more makers
Ages 3–4 with a grown-up; older children can make their own

Supplies & steps ↗
MAKE IT · Witches & wizards

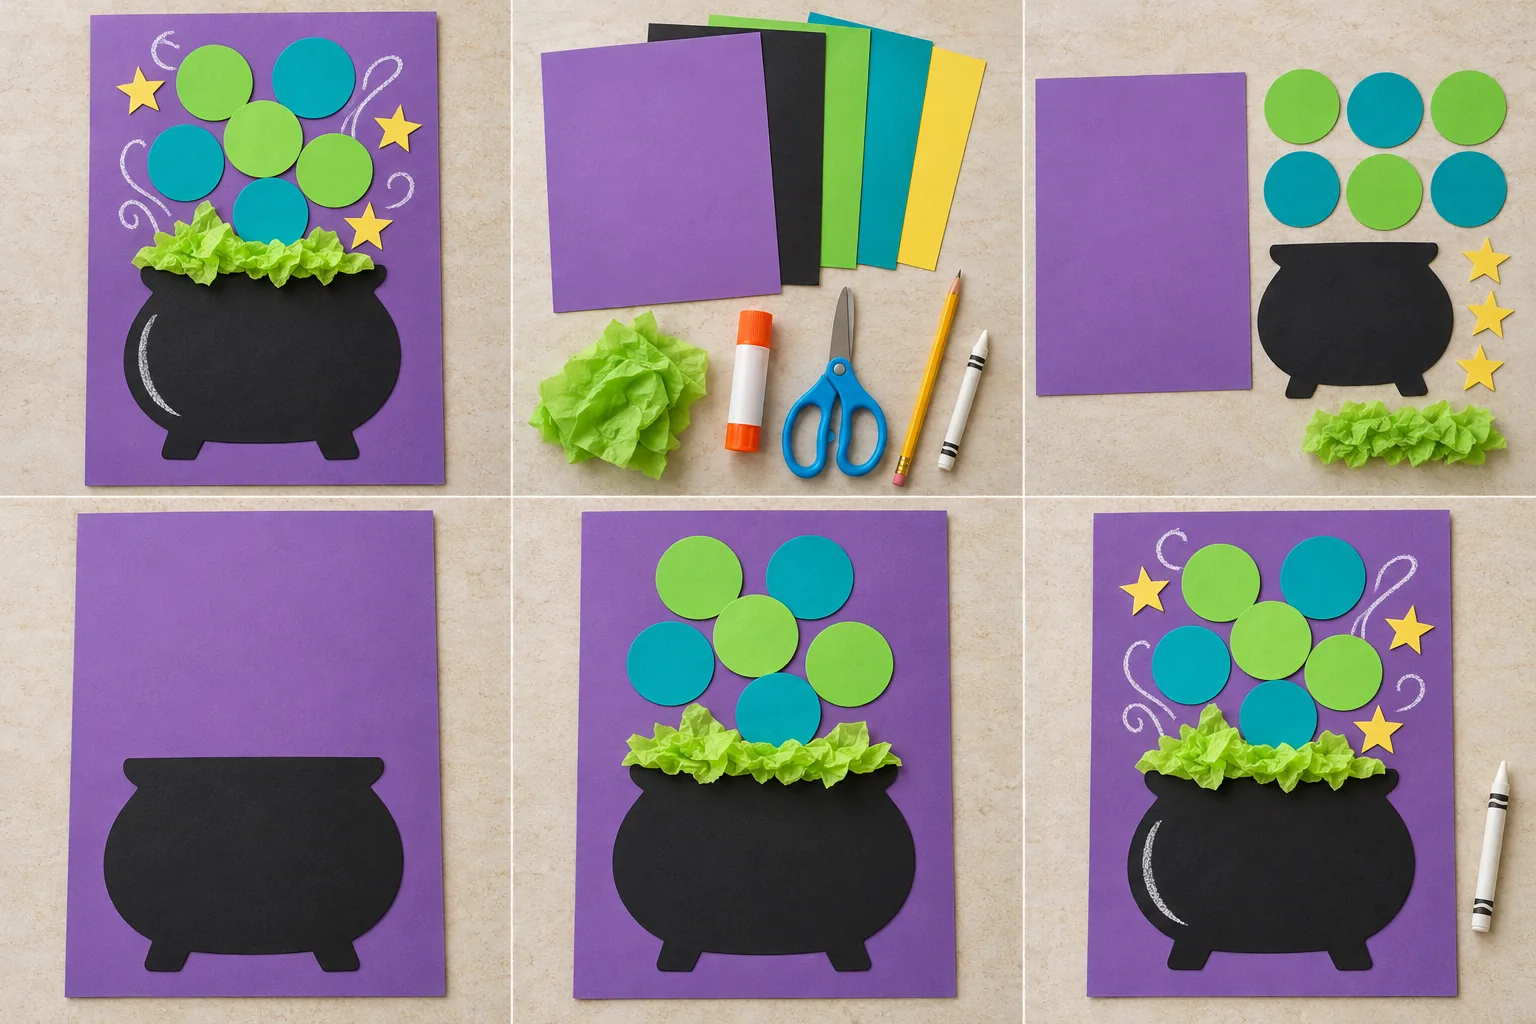
Paper cauldron bubble collage

Fill a paper cauldron with pretend fizzy bubbles, crinkled tissue, and little yellow stars. Everything stays on the page: a colorful witches-and-wizards project with no mixing or heat.

35 min hands-on · 1 or more makers
Ages 6+ with a grown-up nearby

Supplies & steps ↗
MAKE IT · Halloween

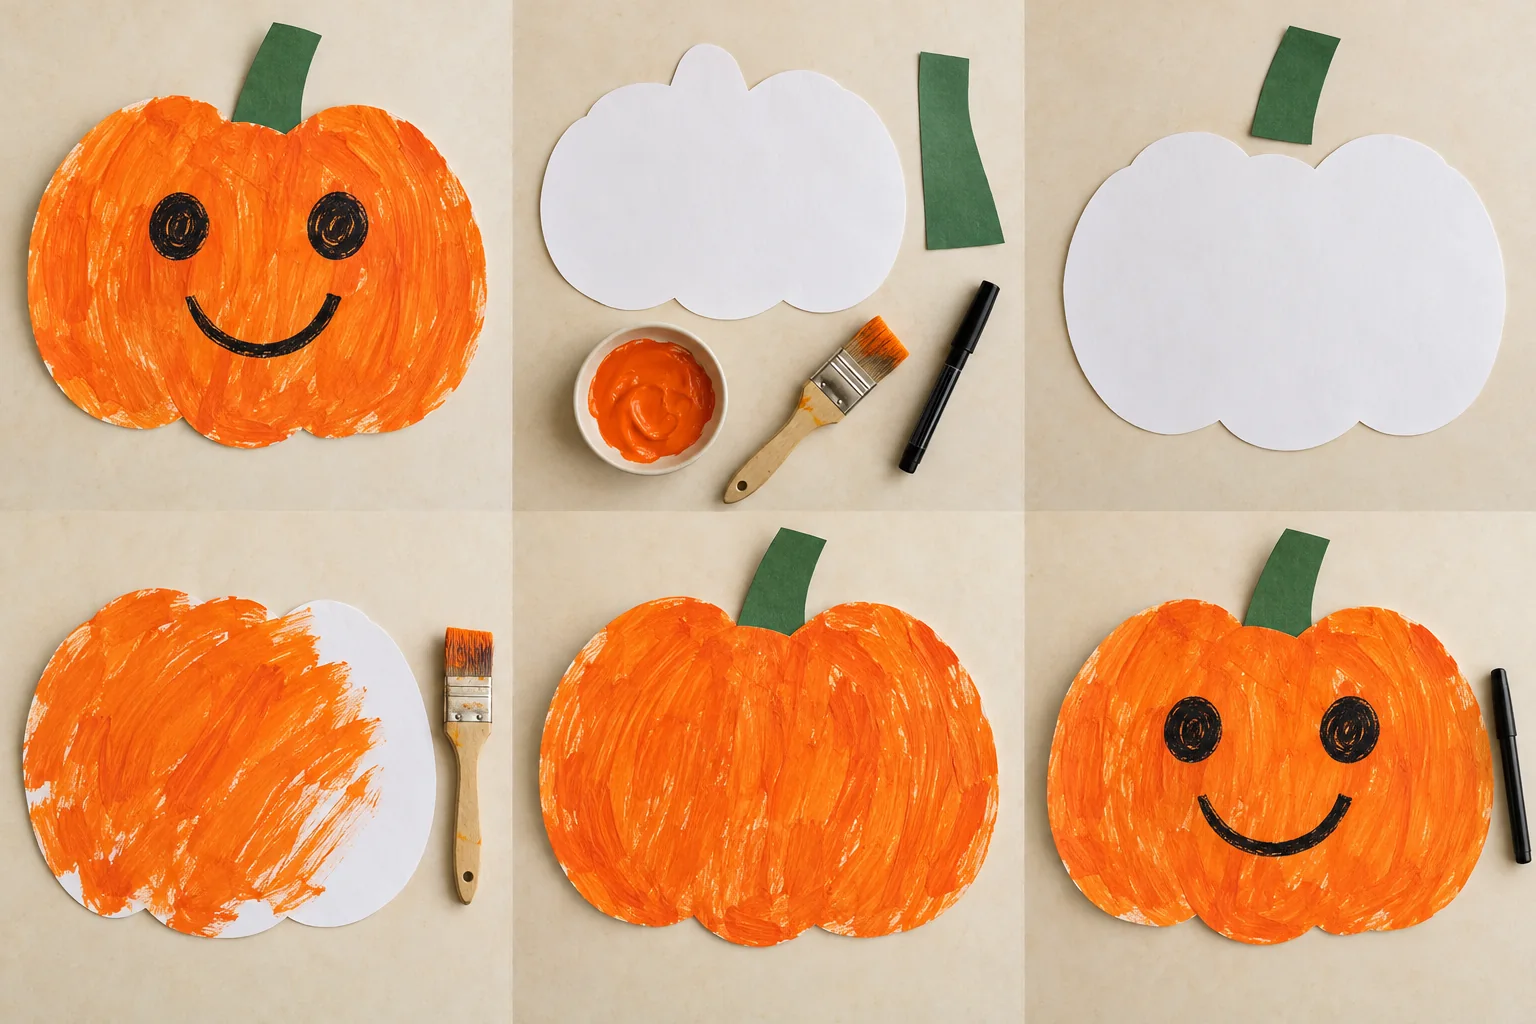
A happy painted pumpkin for little hands

Let a toddler explore orange paint on a big paper pumpkin, then choose a friendly face together. There is no carving and no need to stay inside the lines.

25 min hands-on · 1–4 makers, each with an adult nearby
Ages 2–4 with a hands-on adult throughout
Supplies & steps ↗

More Halloween crafts, recipes & ideas ↗